Today’s contributor is Crystal from Stitched By Crystal. All posts written by Crystal for Make It and Love It can be found HERE.
. . . . .
Hi there! It is Crystal, here from Stitched by Crystal, with a fun tutorial to share! I have some travel planned for this summer and I want to bring some of my jewelry along with ending up with lost earrings or tangled necklaces. So, I came up with this simple travel jewelry clutch that will store everything I want to take on the trips and fold up neatly in my suitcase!

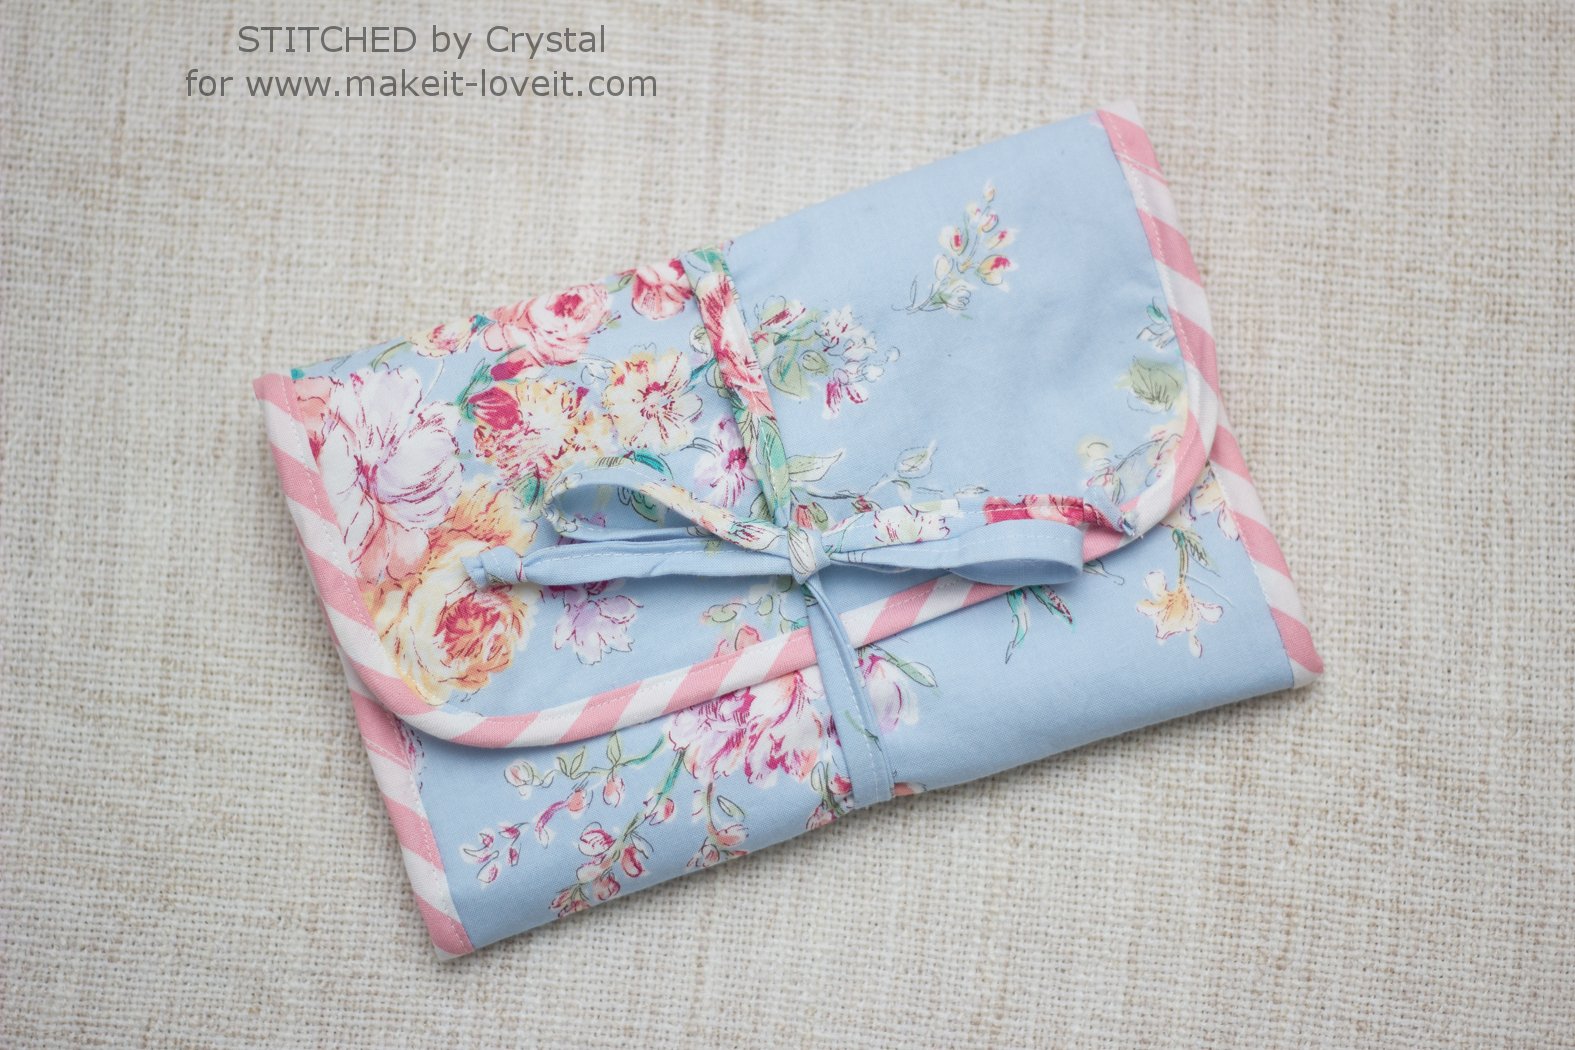
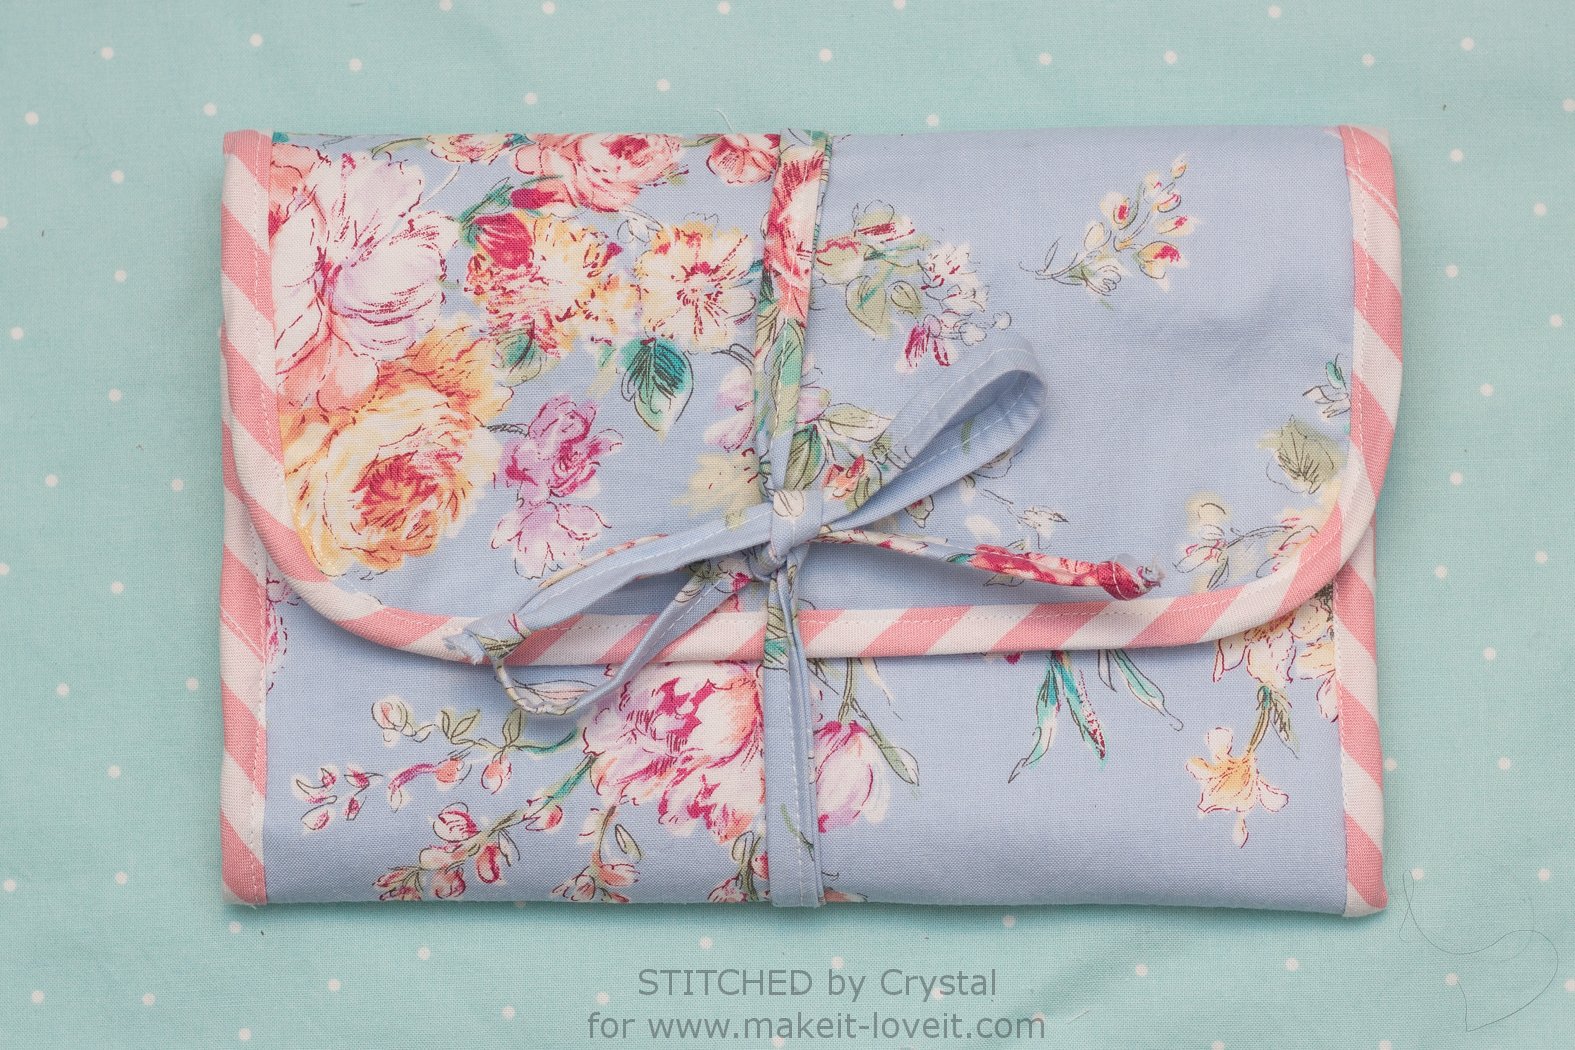
This little travel jewelry clutch has room for all your jewelry for your vacation getaway, and it wraps up to a 9″ x 6″ clutch that ties shut to keep all your bling safely inside during travel while still being small enough to throw in your carry on!

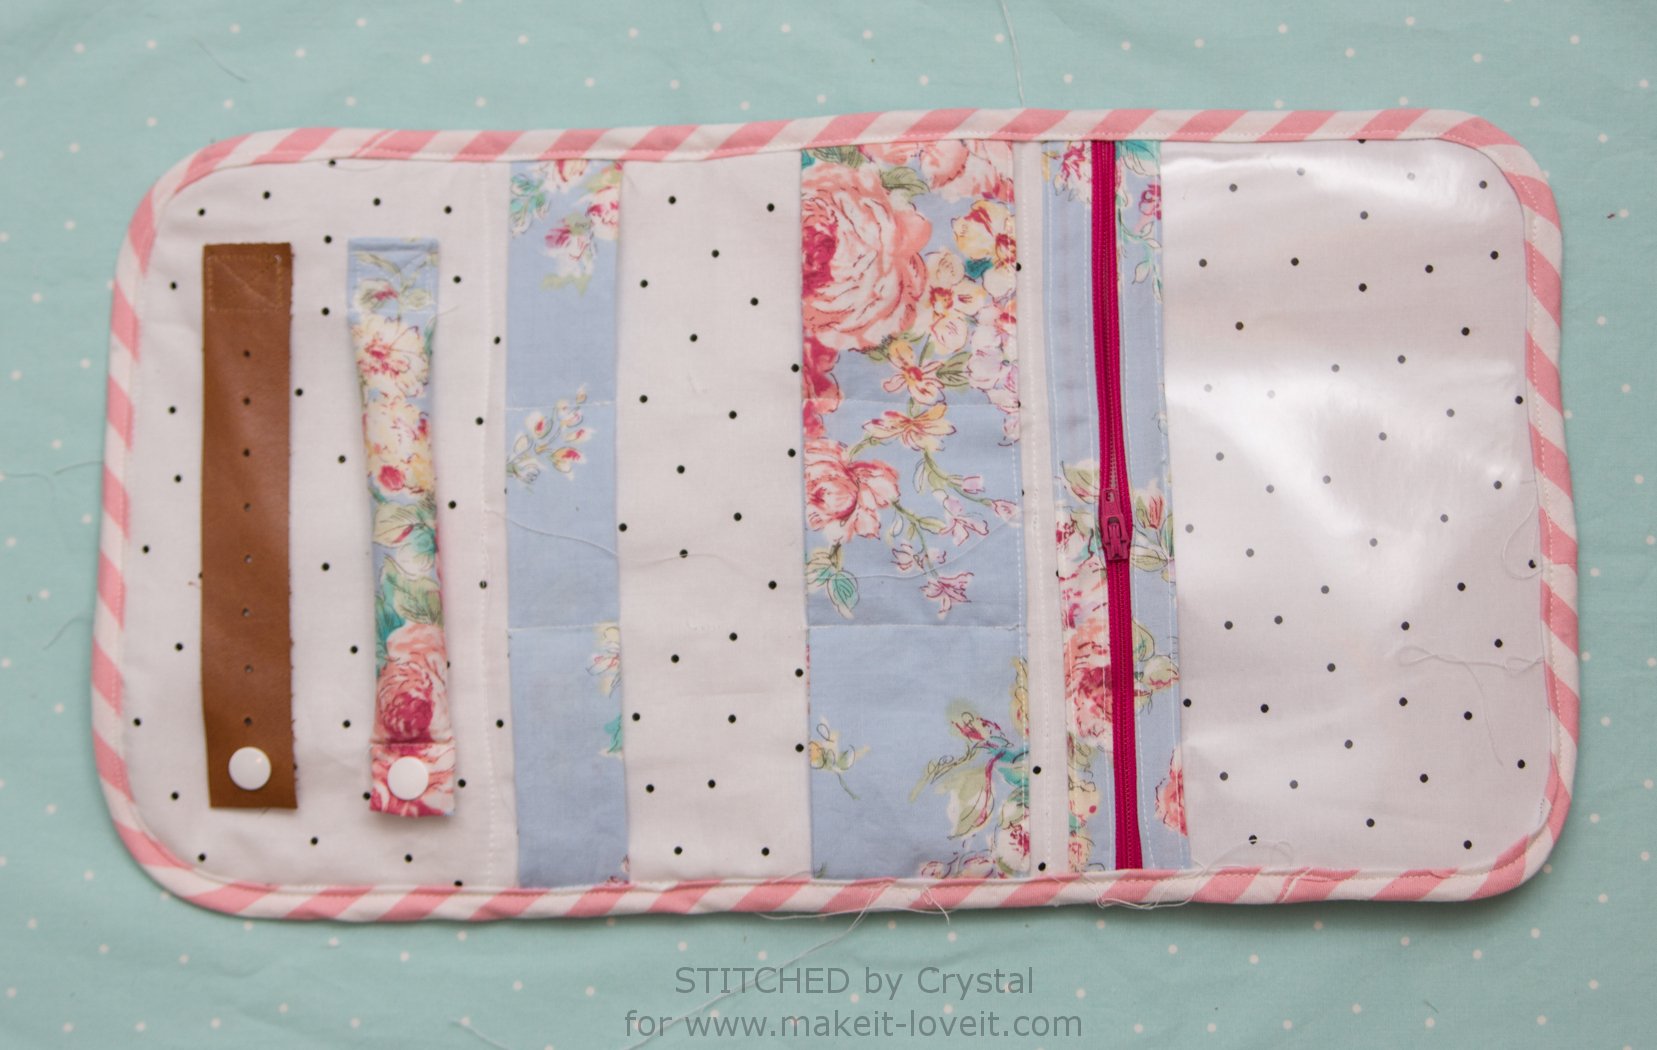
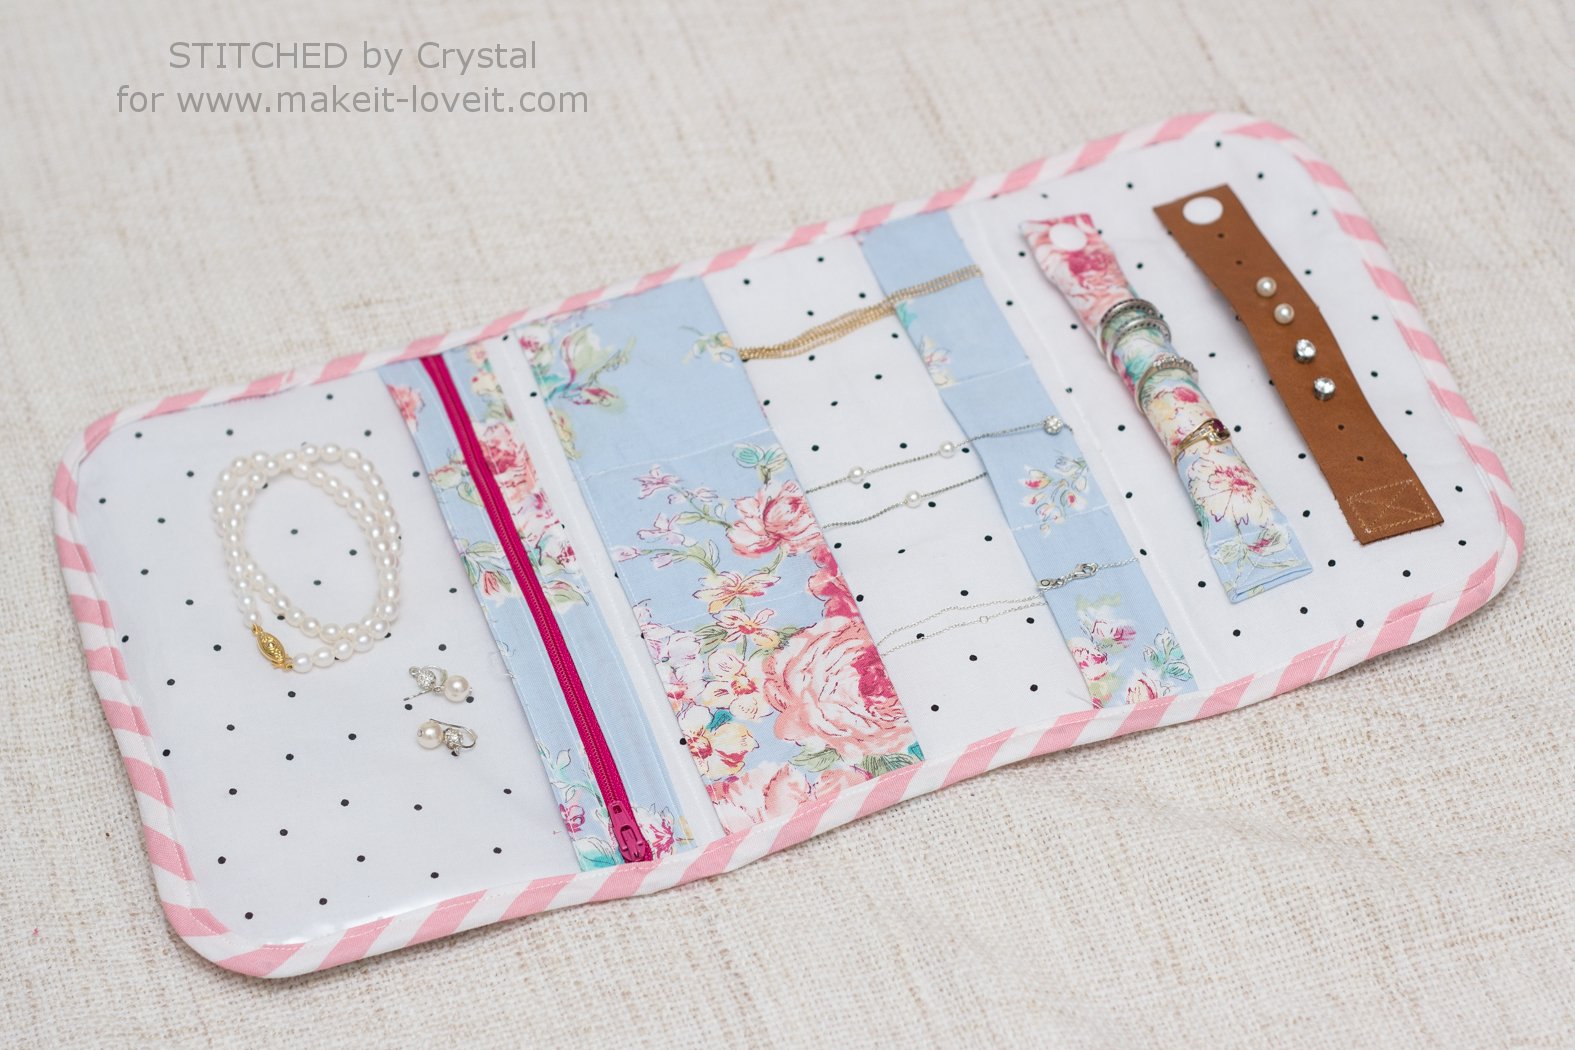
Up on top, there is room for 4 pairs of stud earrings on a leather strap and a padded ring strap that both snap in place.
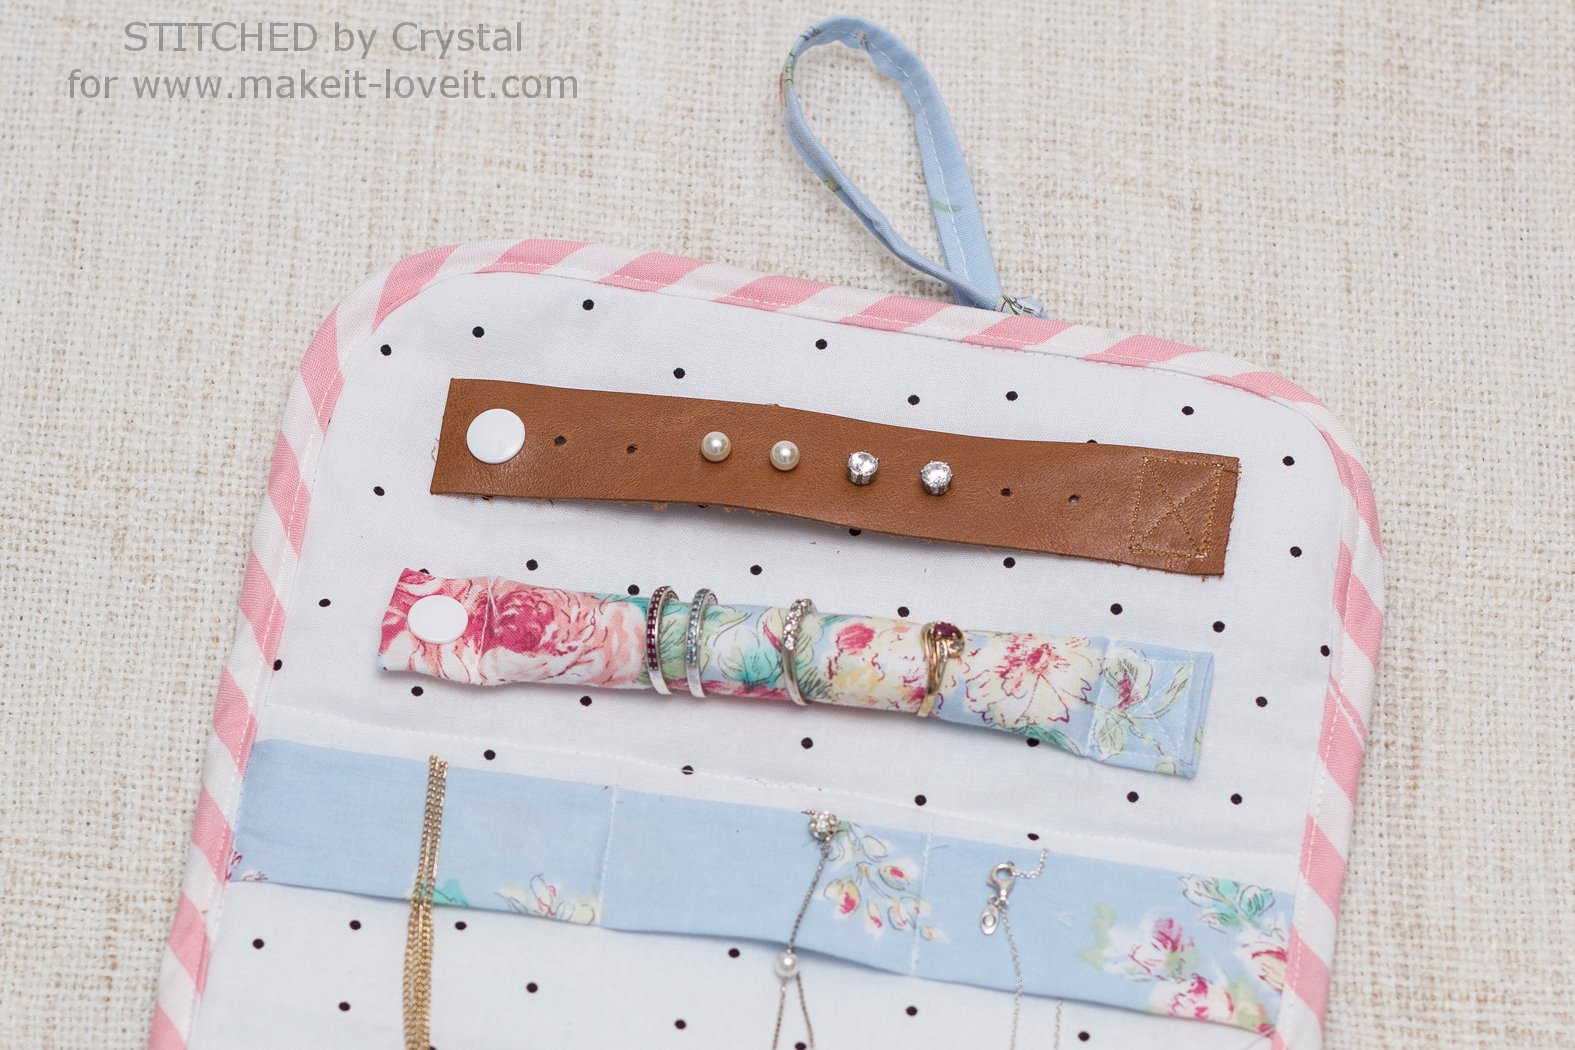
Then there is room for some necklaces, clasp them around the strap on top and tuck them in the pockets below…No more knotted necklaces!
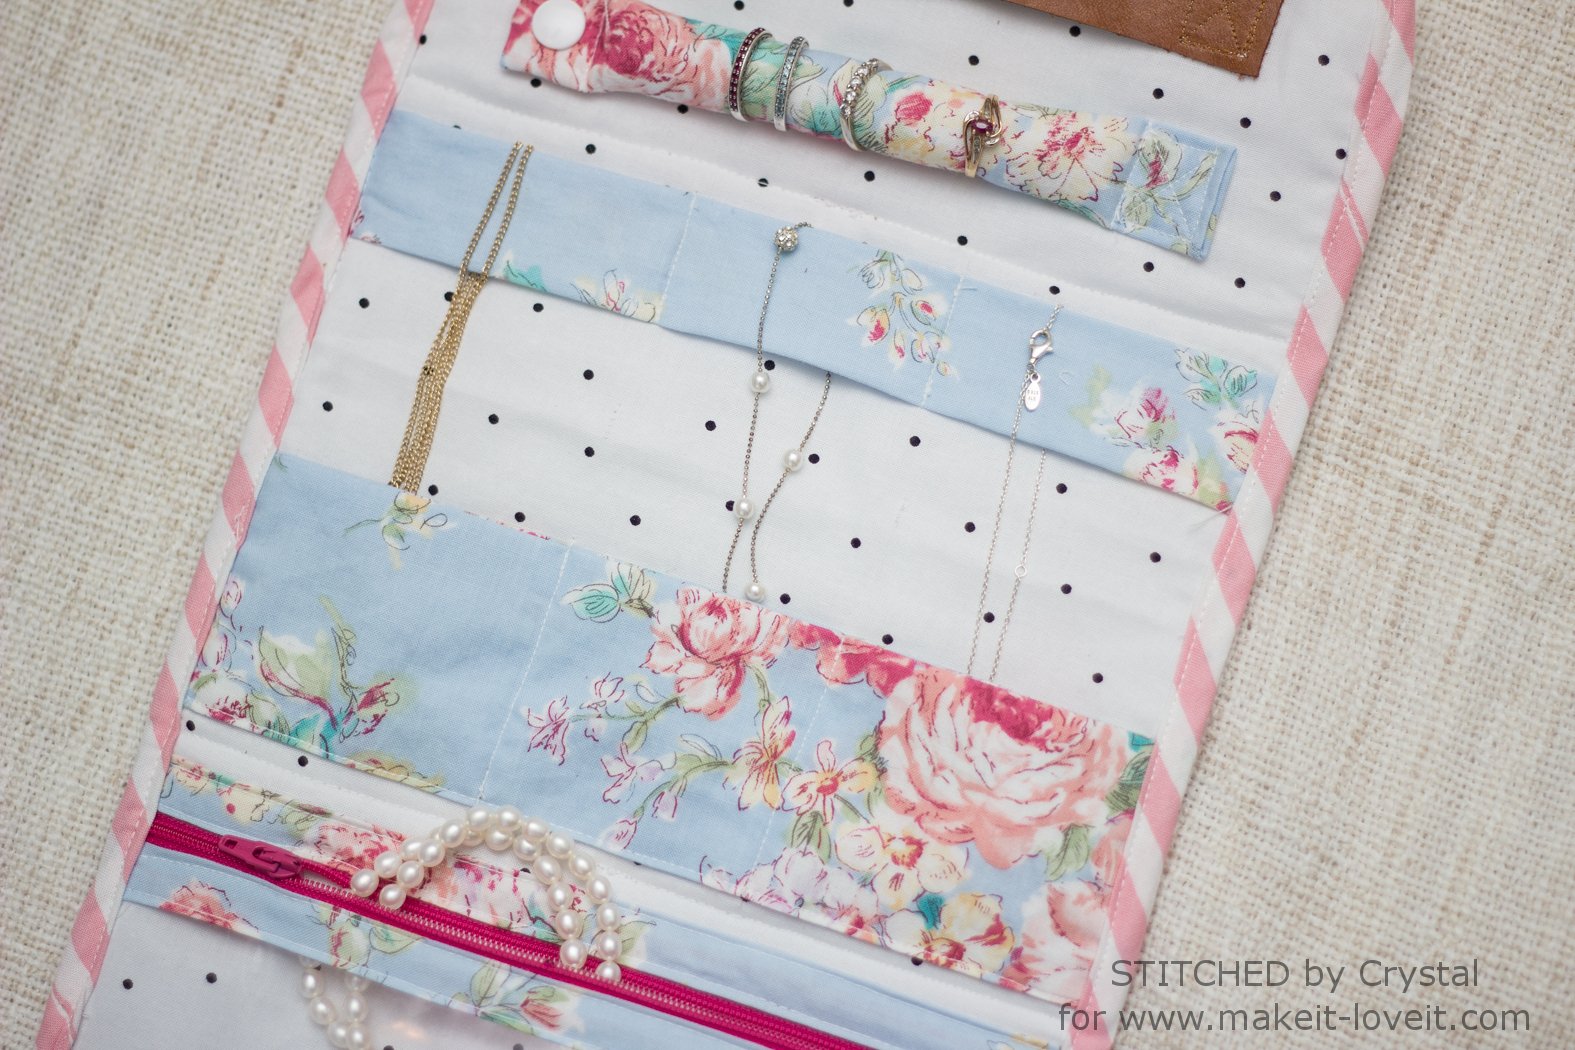
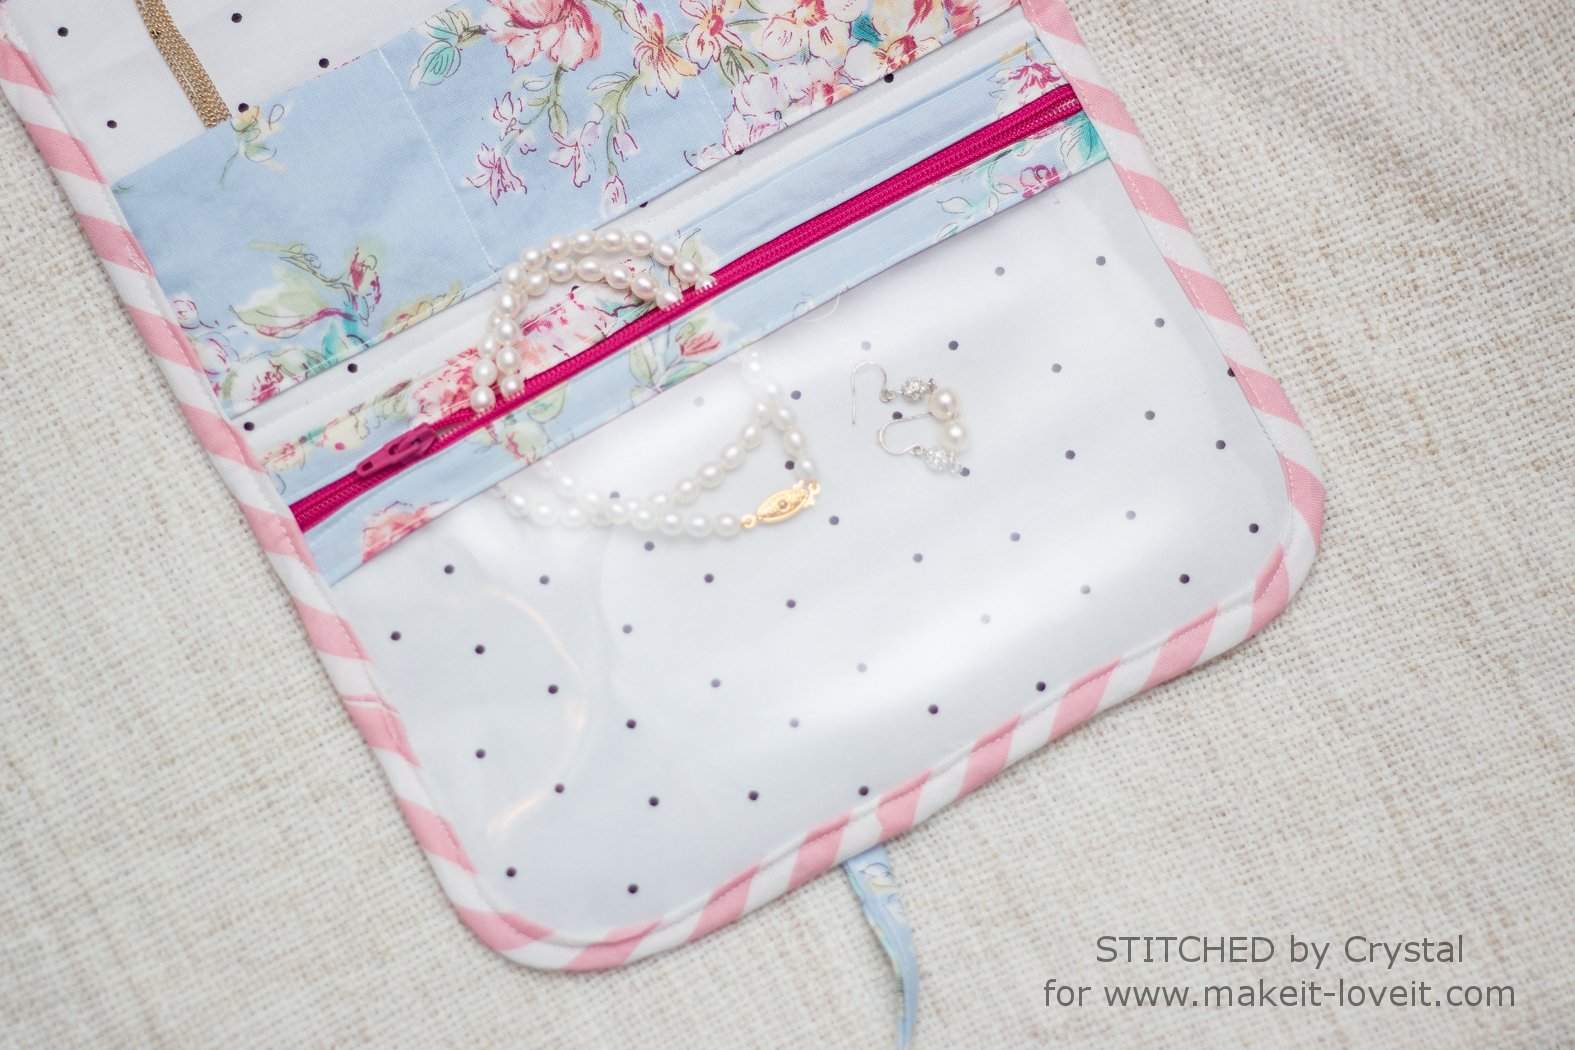
At the bottom, tuck your bracelets, dangle earrings, or larger jewelry pieces into the big clear pocket and zip it shut so they don’t go missing in your suitcase!
Want to make a travel jewelry clutch? Great! Let me show you how….
You will need…
- 1/4 yard or a fat quarter of your main fabric
- 1/4 yard or a fat quarter of the lining fabric
- 1/4 yard of fusible fleece
- One 9″ zipper
- 1/2 yard of single fold bias tape
- 2.5 yards of double fold bias tape (1.5 yards for to finish the edge of your case and 1 yard for your tie closure)
- A small scrap of leather
- A small leather hole punch
- 1/4 yard of clear vinyl (you can find this in the home decor fabric section at your craft store)
- 2 snaps
- A small bit of batting
- Basic sewing supplies
Start by cutting your fabric. You will need…
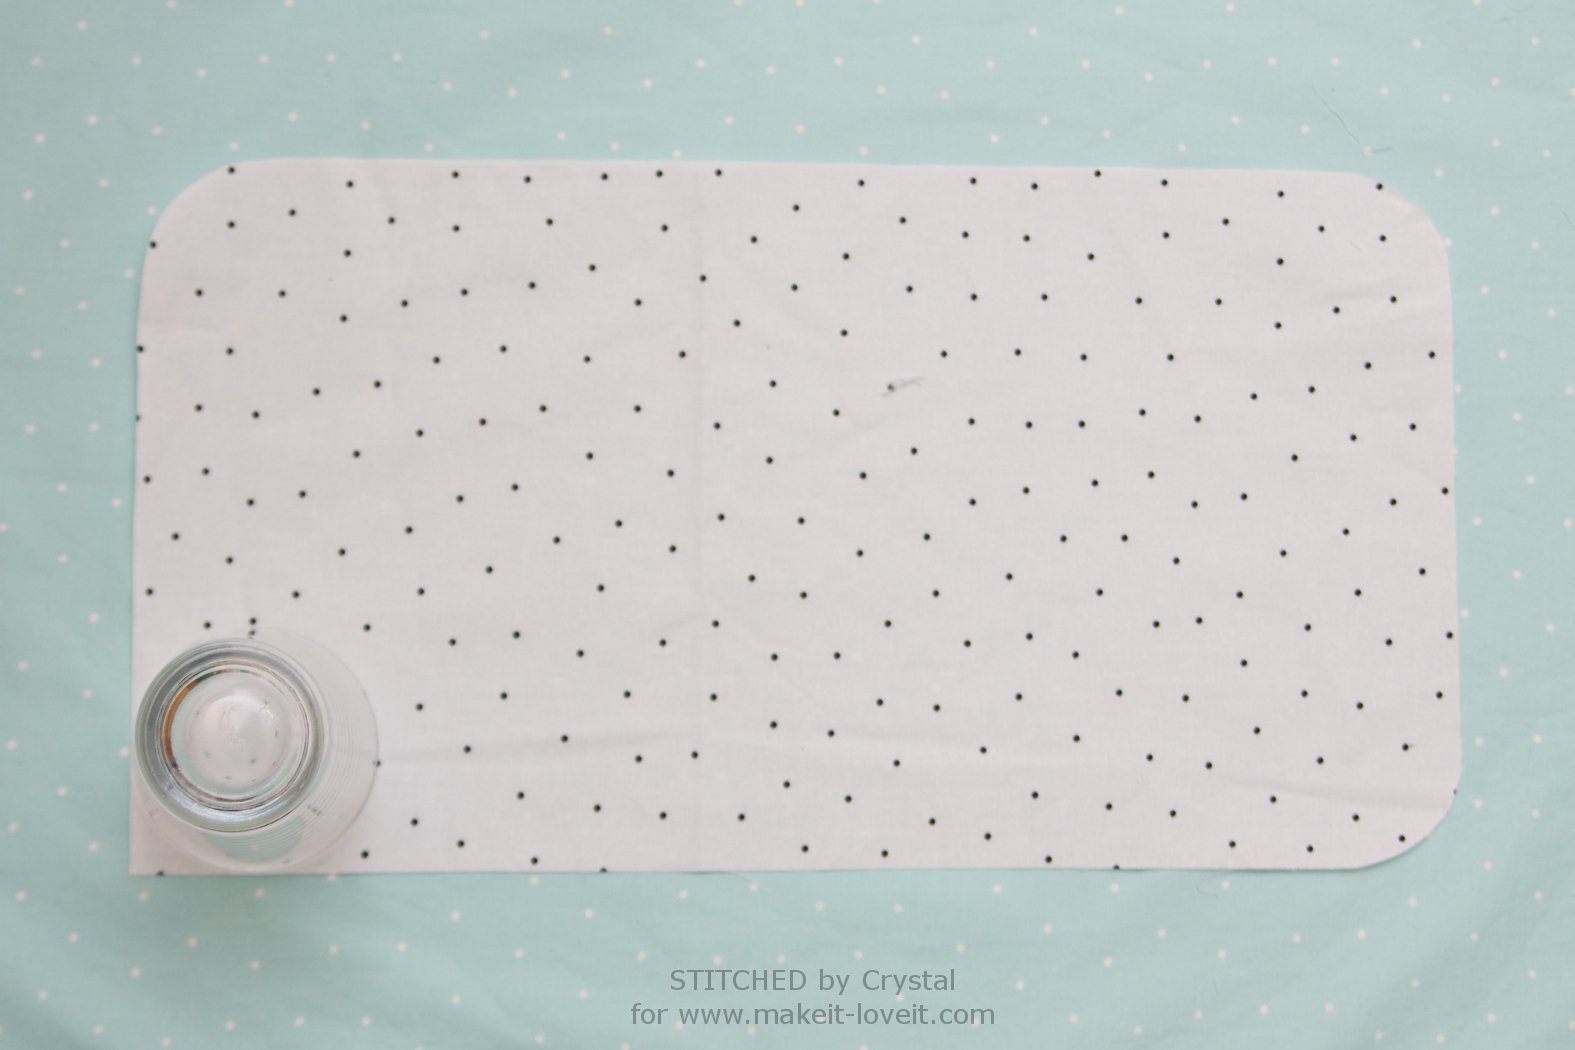
- One 9″ x 17″ piece of each of your main fabric, lining fabric, and fusible fleece.
- One 3″ x 7.5″ piece of the main fabric for the ring holder
- Three 3.5″ x 9″ pieces for the necklace holder
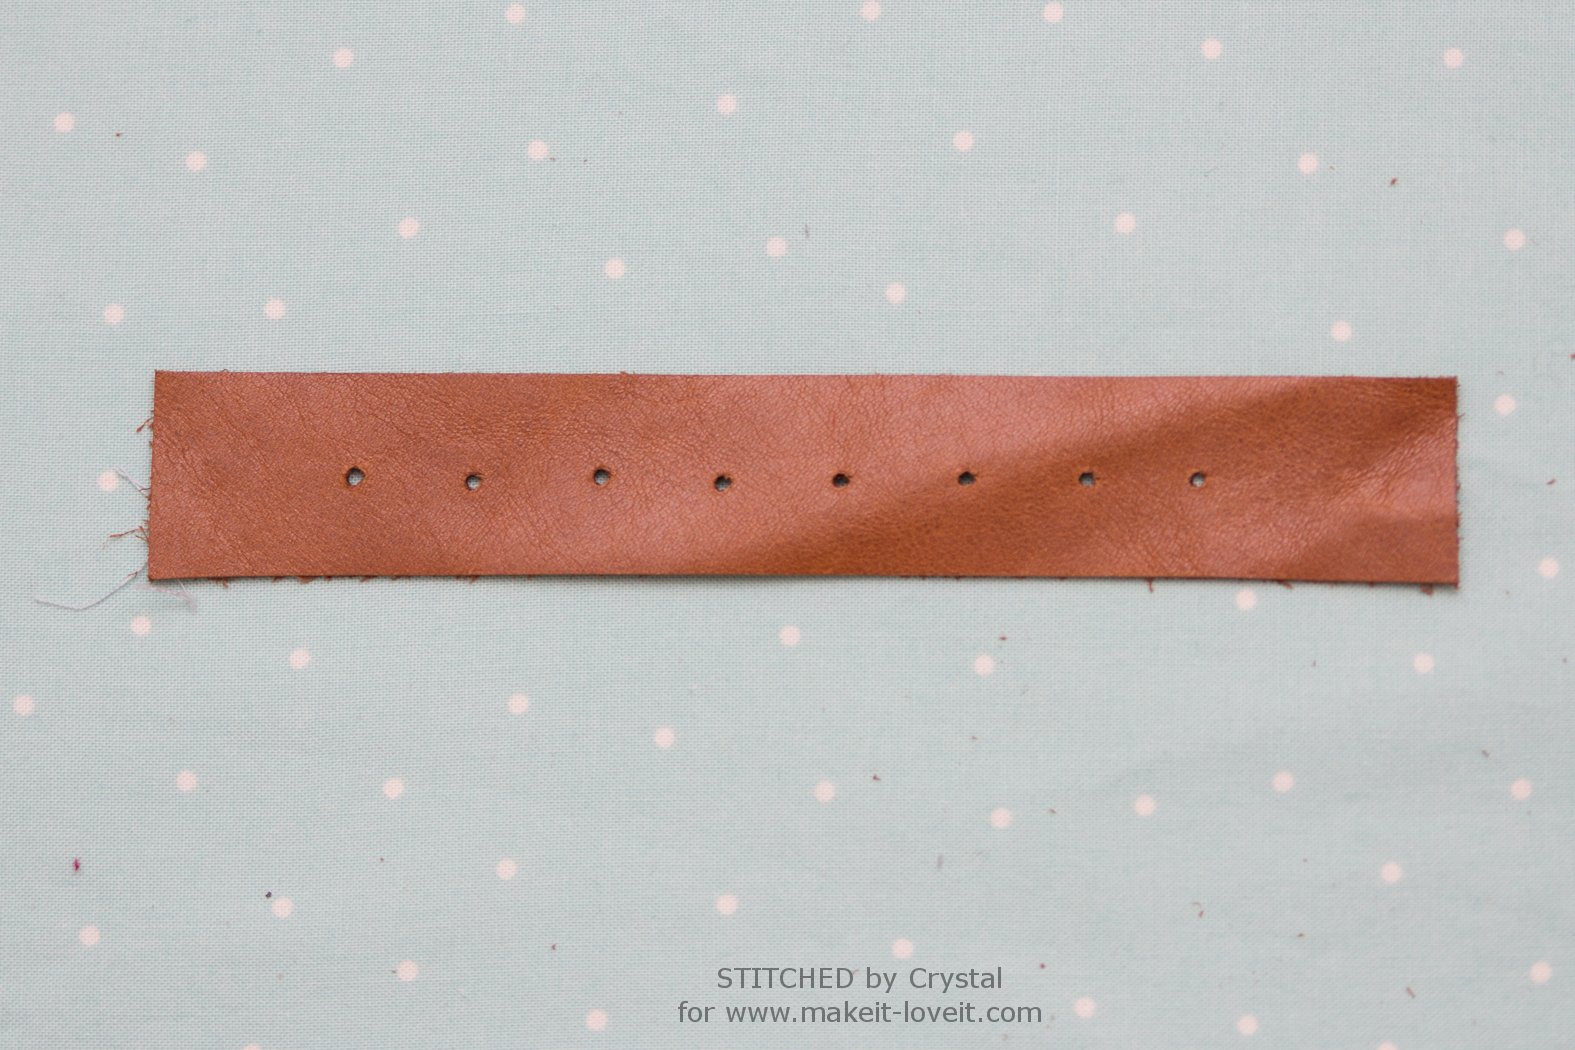
- One 1″ x 6.5″ piece of leather for the earring holder
- One 9″ x 5″ piece of the vinyl
Using a cup as a guide, round the corners of all three of your 9″ x 17″ pieces as well as the 2 bottom corners of your vinyl.
Lay the vinyl on top of the zipper and baste it in place. Then sew 9″ of single fold bias tape over top of the seam for a clean finish. (**tip** When working with the vinyl, don’t use pins, they will leave holes. Use small clips or clothes pins to keep everything in place instead)
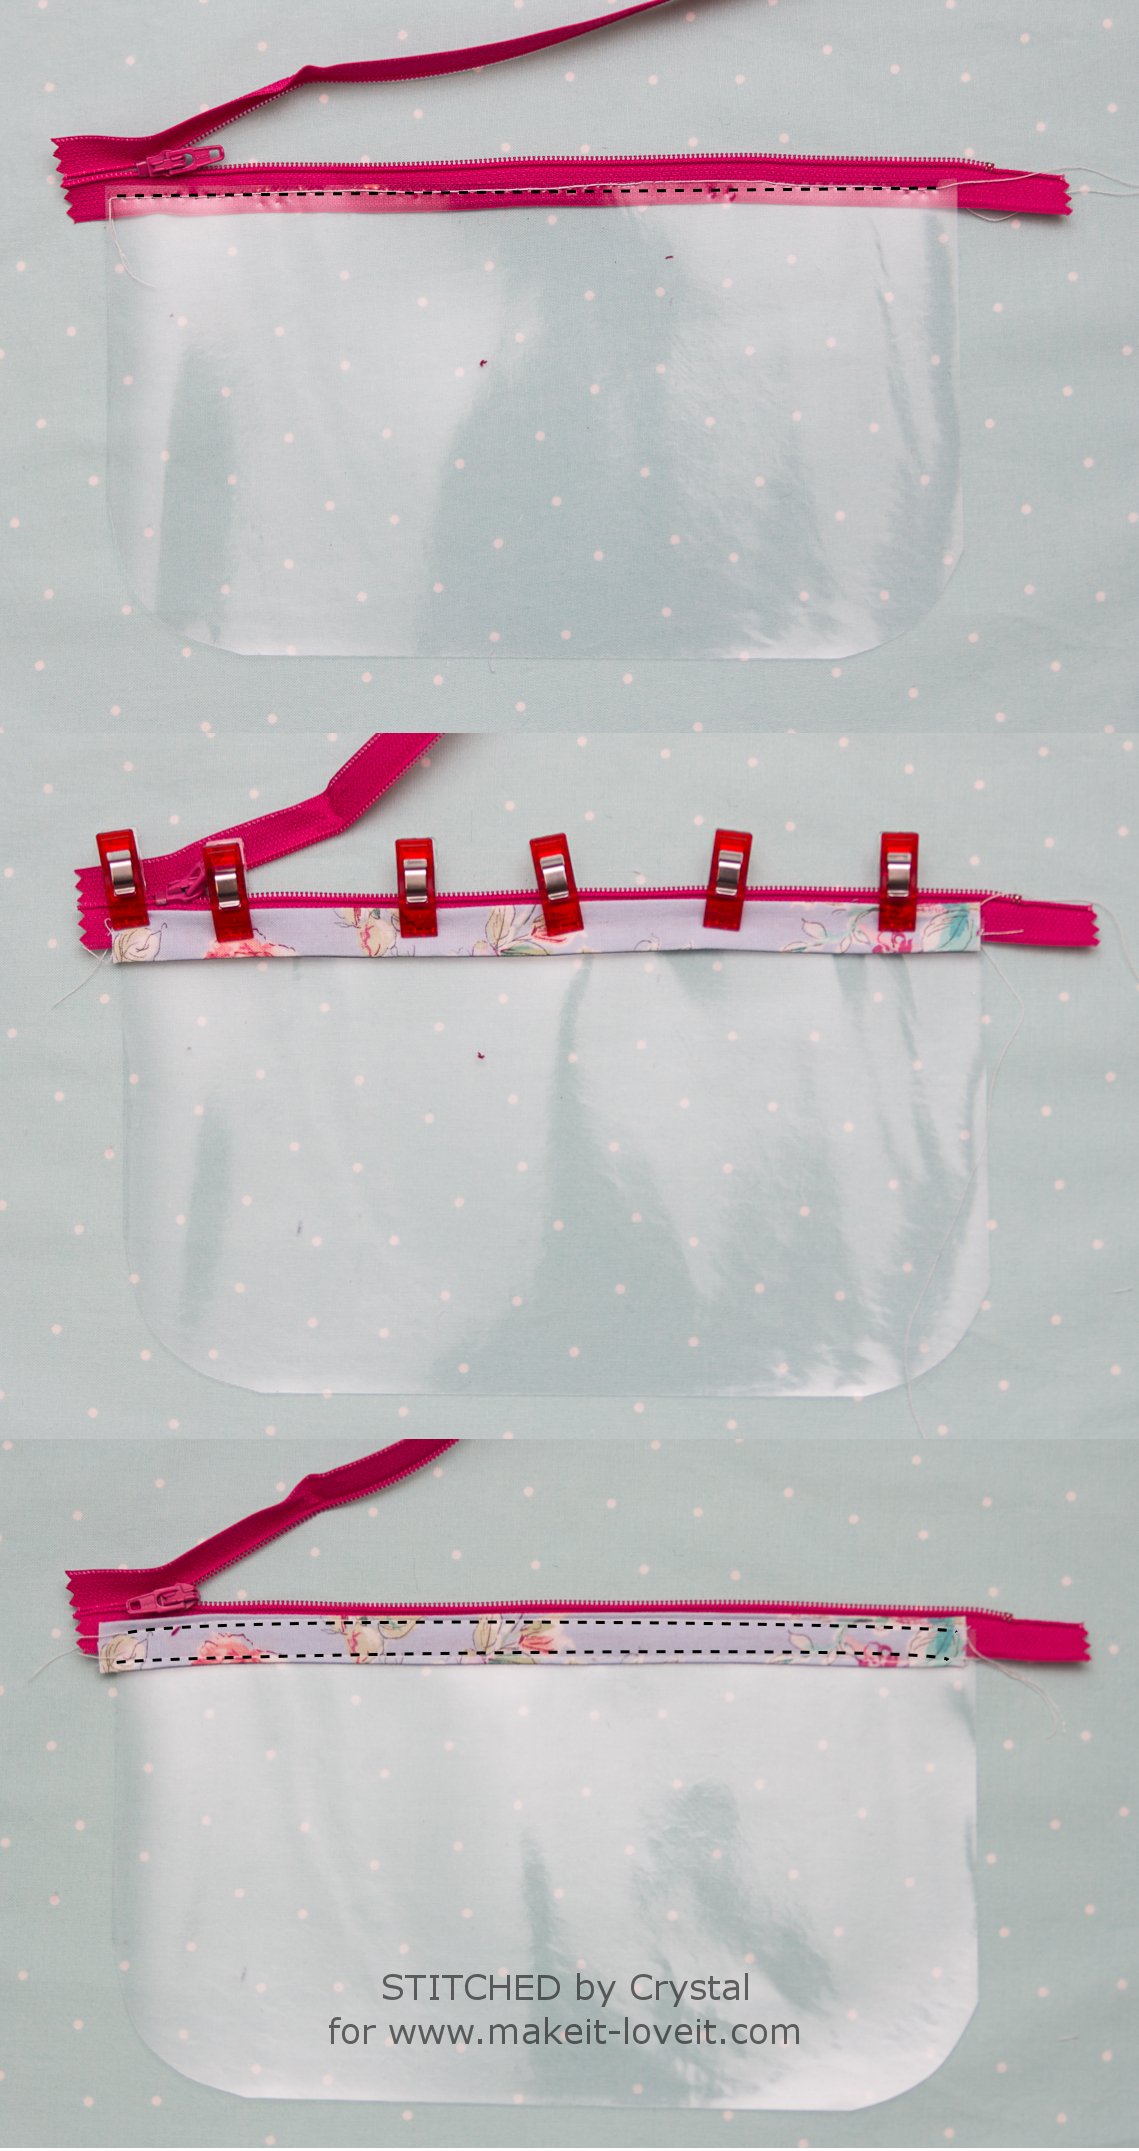
Position the vinyl on top of the lining piece, lining up the curves at the bottom corners. Baste the vinyl on place 1/4″ from the edge and also along the top of the zipper. Add the remaining 9″ of bias tape over the top edge of the zipper. Try to avoid having the little metal stopper on your zipper within 1/2″ of the edge of your case (you can see mine is right where I want to sew my bias tape on in a bit…oops!). BUT, if it ends up too close to the edge, you can pull it off with a pair of pliers so you don’t break your needle on it later. Position the zipper pull somewhere in the middle and trim off any extra zipper on the ends.

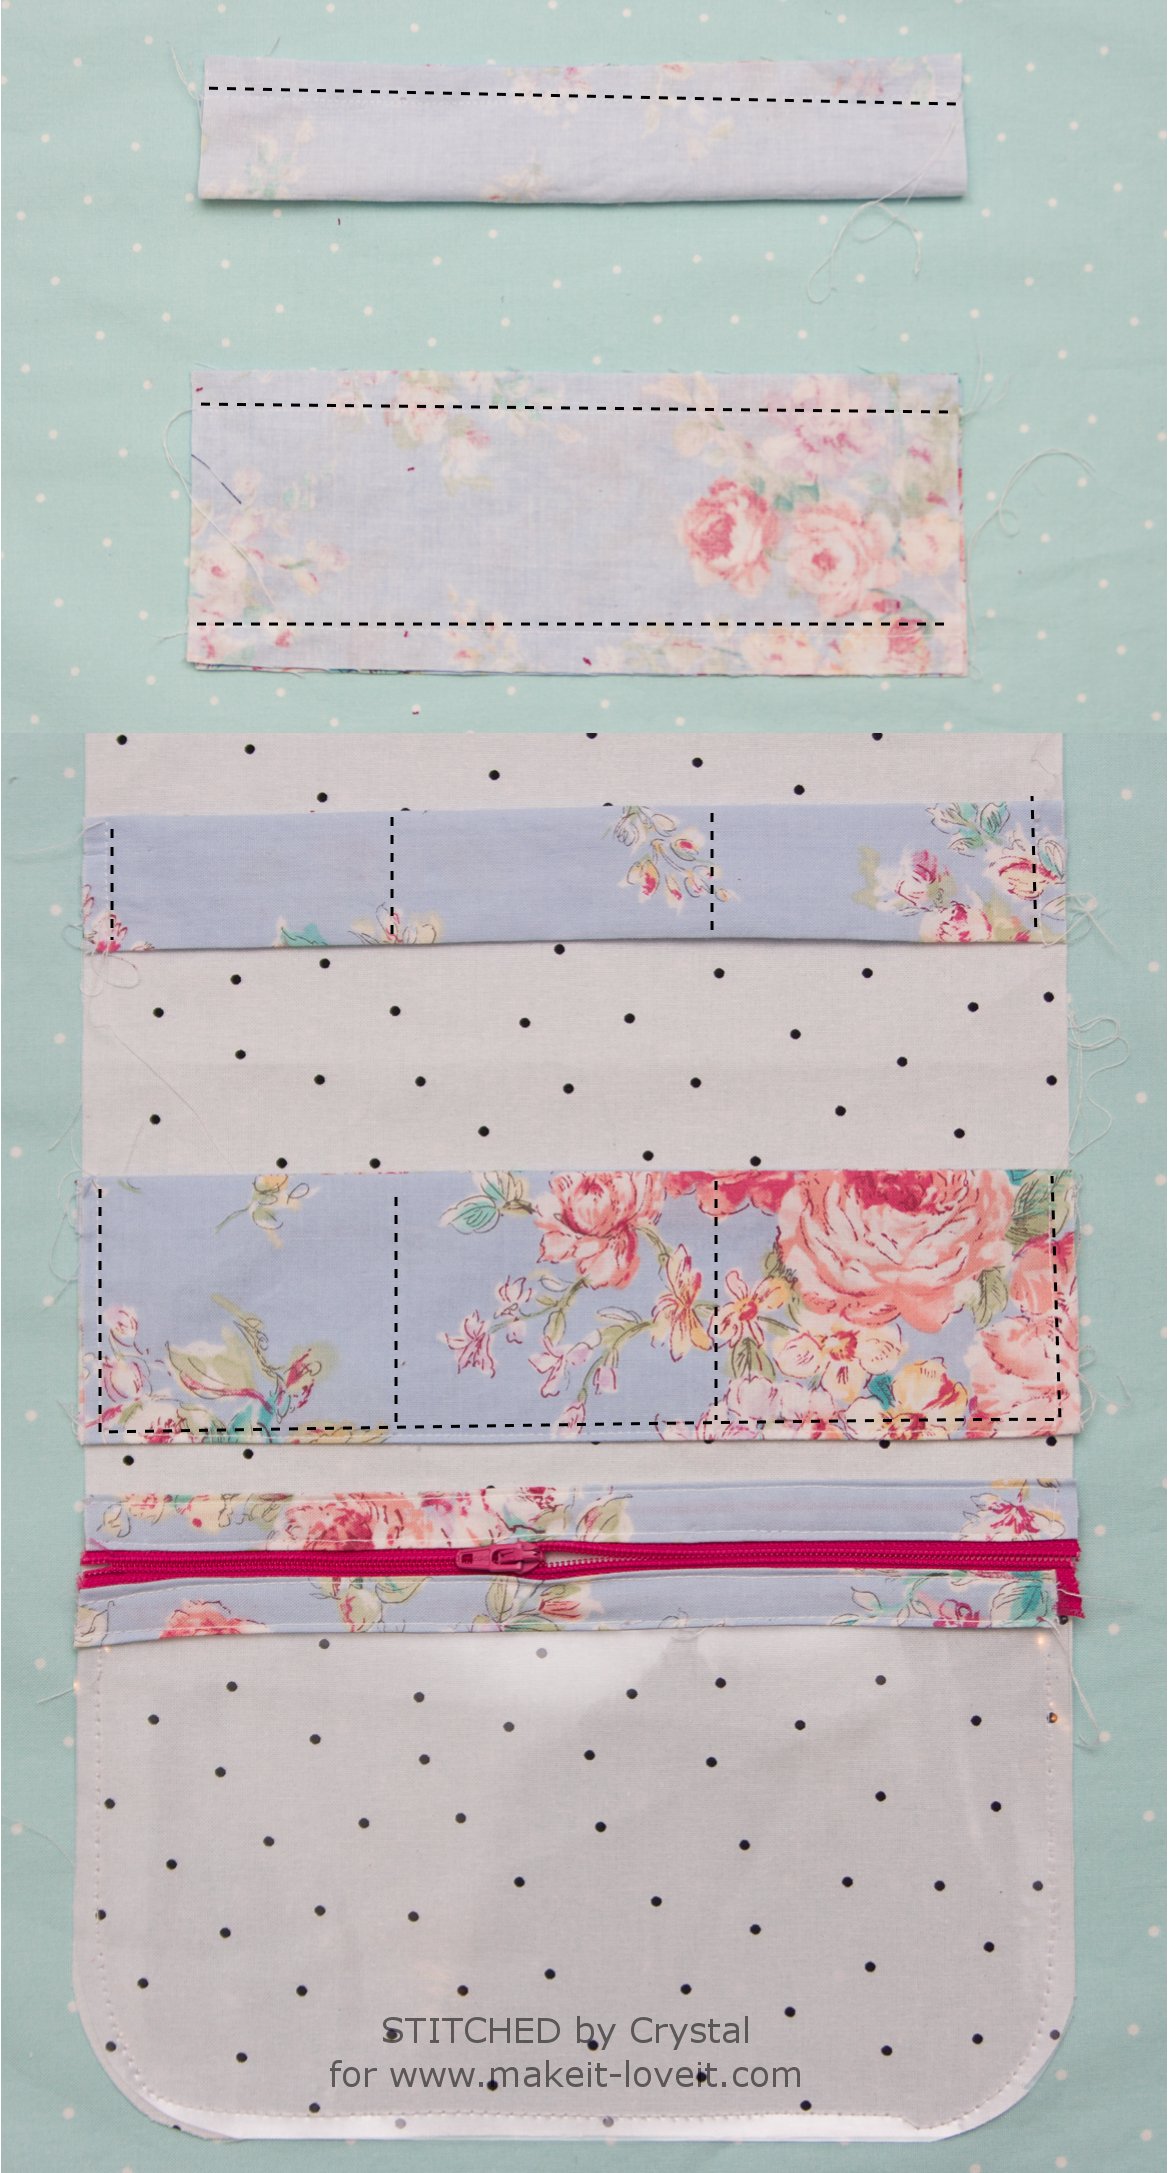
Next, the necklace holder. Fold one of the 3.5″ x 9″ pieces in half, right side together, lining up the 9″ sides and sew along the edge with a 1/2″ seam allowance. Place the other two 3.5″ x 9″ pieces right sides together and sew along both 9″ sides with a 1/2″ seam allowance.
Position the larger rectangle 1/2″ above the zipper pocket. Sew along the sides and bottom edge to create a pocket, then stitch two lines to divide the pocket onto three smaller pockets as shown below.
Position the other piece 2″ above the pocket. Sew it down on both sides, then sew two lines directly above the ones you made in the pocket as shown below.
With the leather punch, make 8 holes in the middle of your leather strip, leave room on the ends to sew the strip in place and add the snap later.
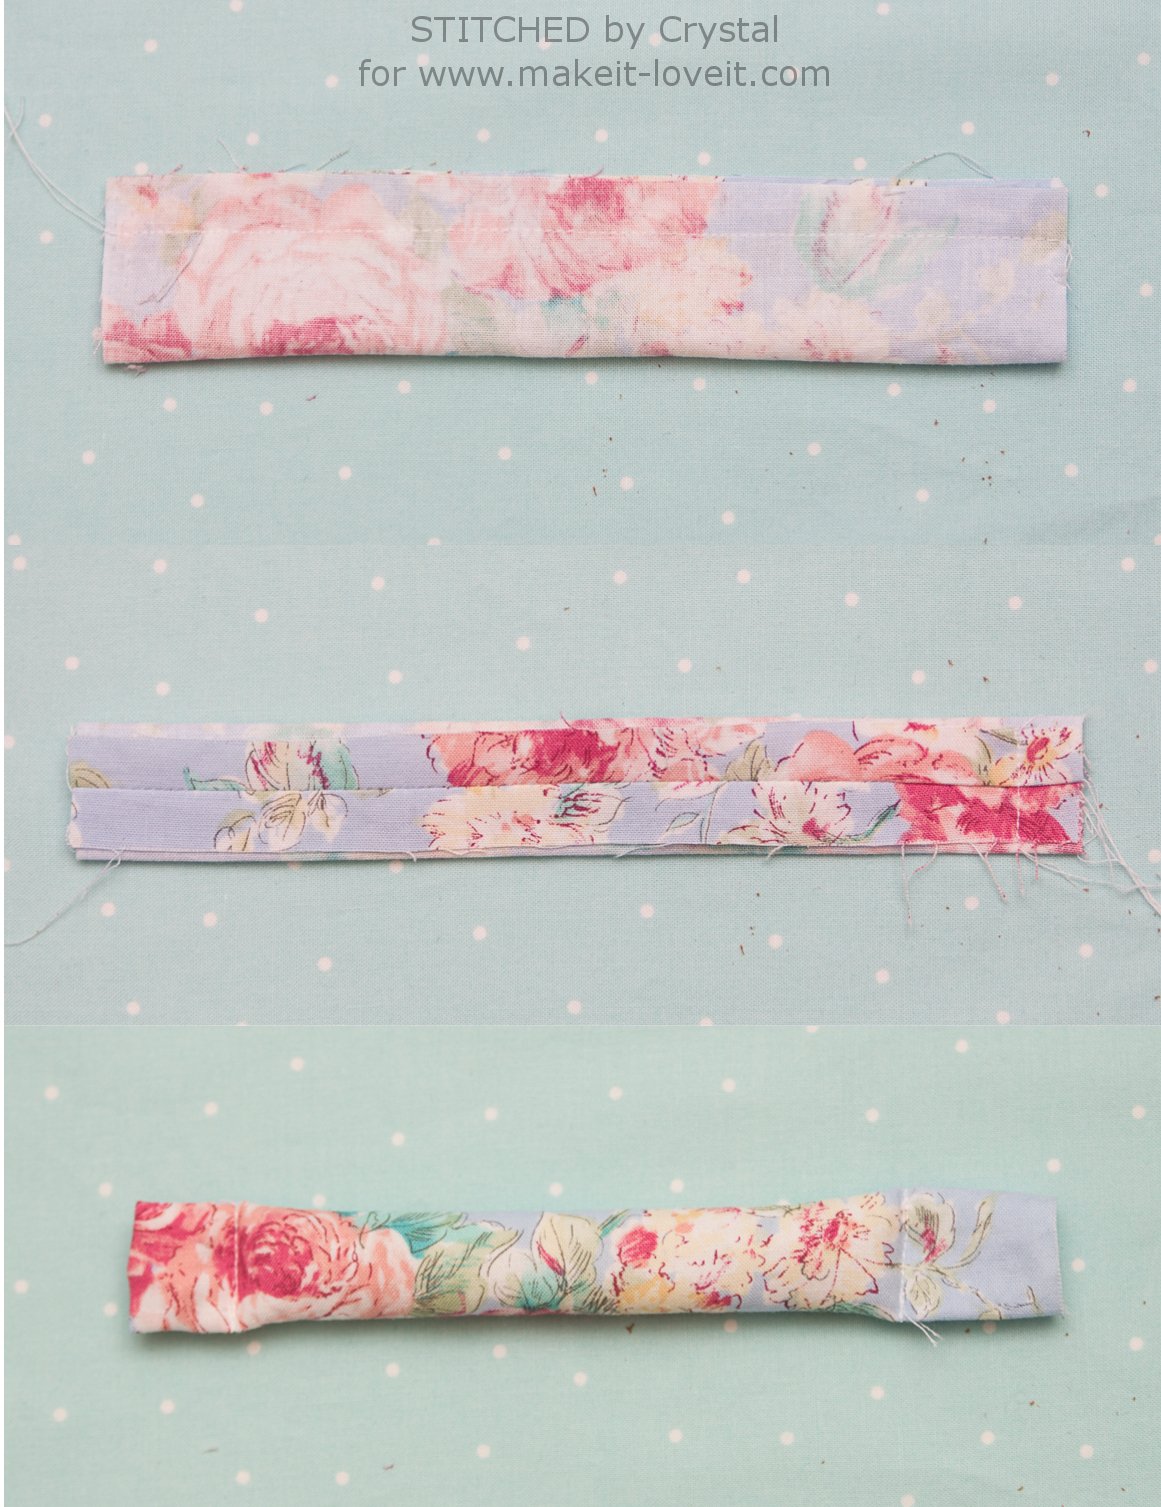
Create the padded ring strap by folding the 3″ x 7.5″ piece in half, right sides together, and sewing along the edge with a 1/2″ seam allowance. Press the seam open and center it on the strip. Sew one end shut with a 1/2″ seam allowance. Turn the strip right side out. Sew 1″ from the closed end, this is where you will add your snap. Then lightly stuff the tube. Stitch the tube shut 1.5″ from the open end.
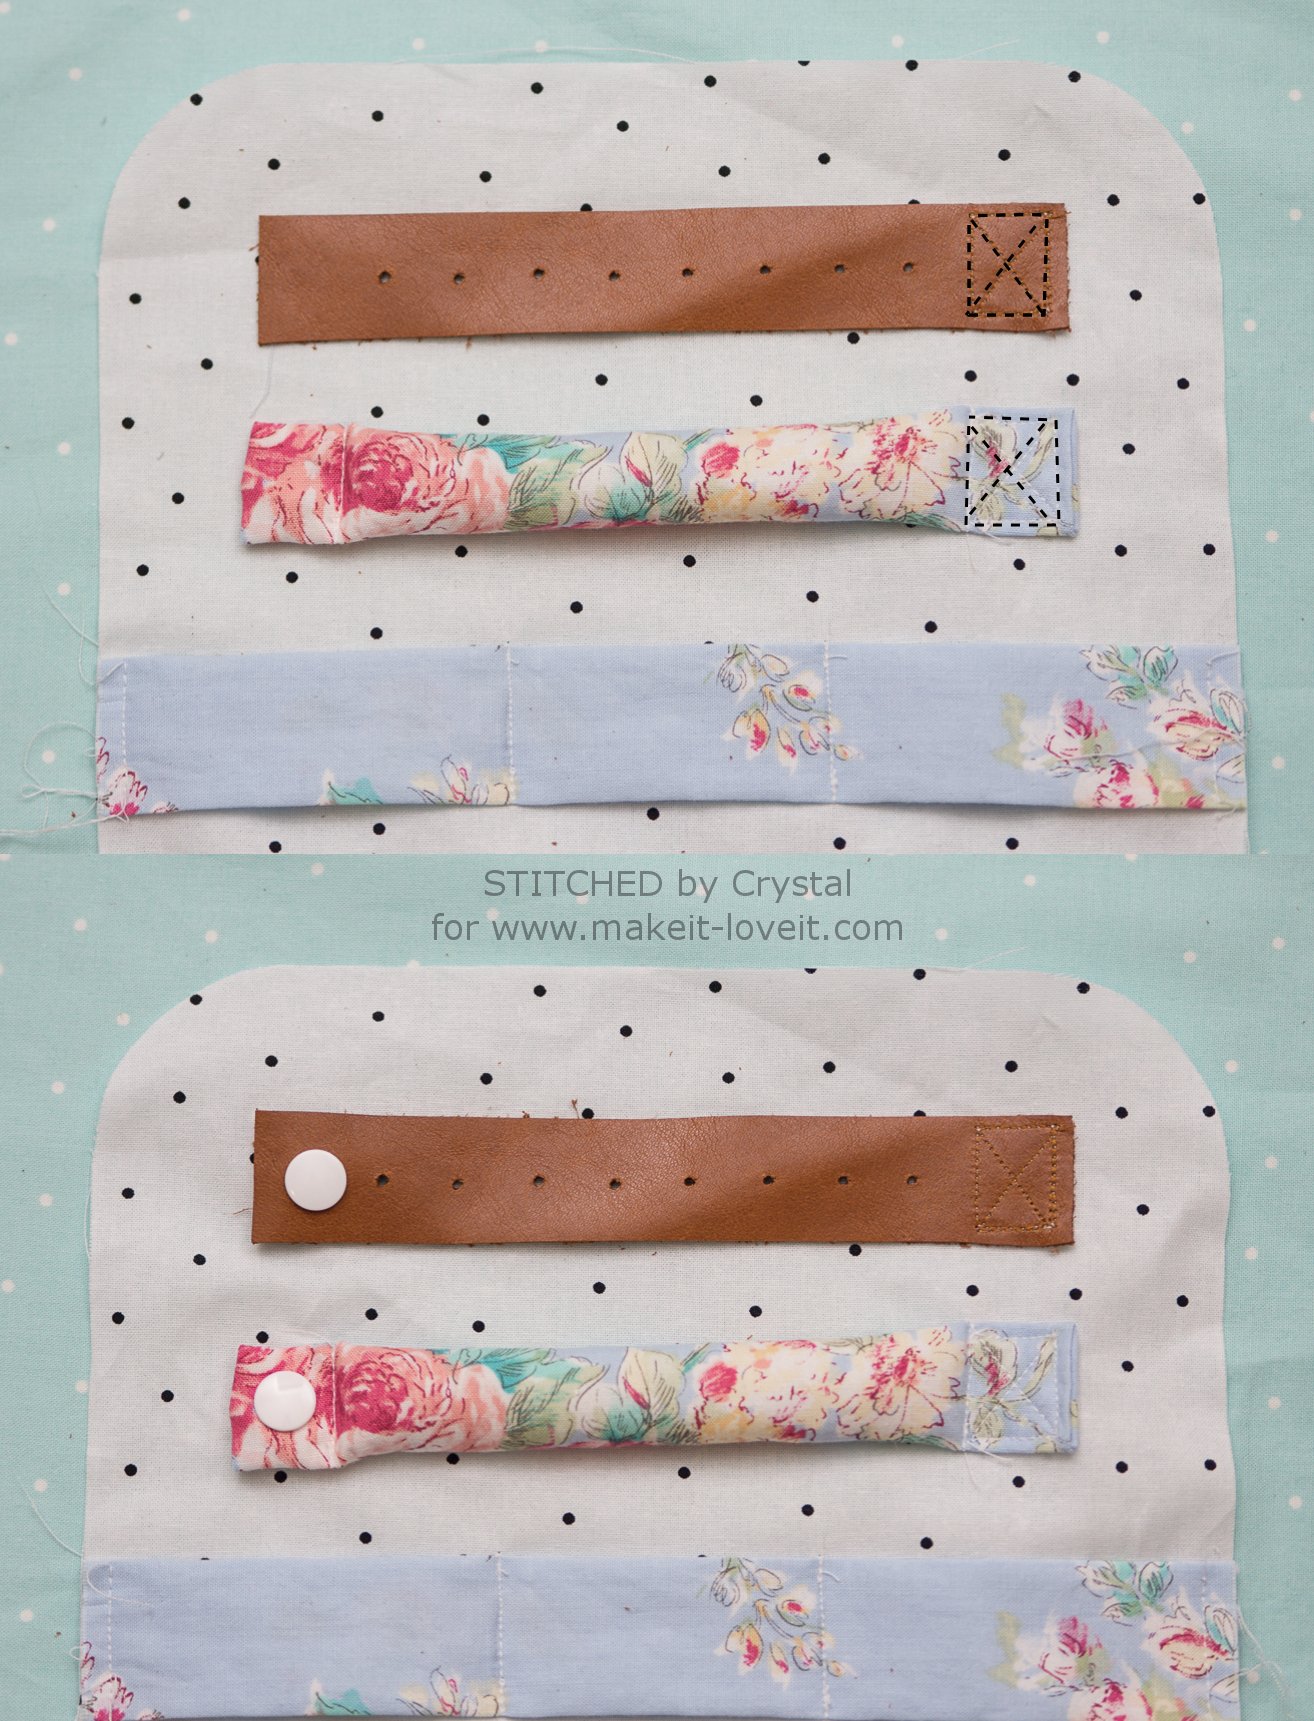
Fold the raw edge of the ring holder in 1/2″. Position the earring and ring holders at the top of the clutch, above the necklace holder. Sew one end down with a box stitch as shown below.
Mark the placement of the snaps on and add those. You may want to add a small piece of interfacing to the back where you place the snap for added stability.
Iron the fusible fleece to the wrong side of the main outer piece. Place the main piece with the fleece and the lining piece wrong sides together and baste around the outside 1/4″ from the edge. Stitch in between the bottom pocket and the necklace pockets and also between the ring and necklace holder as shown below.
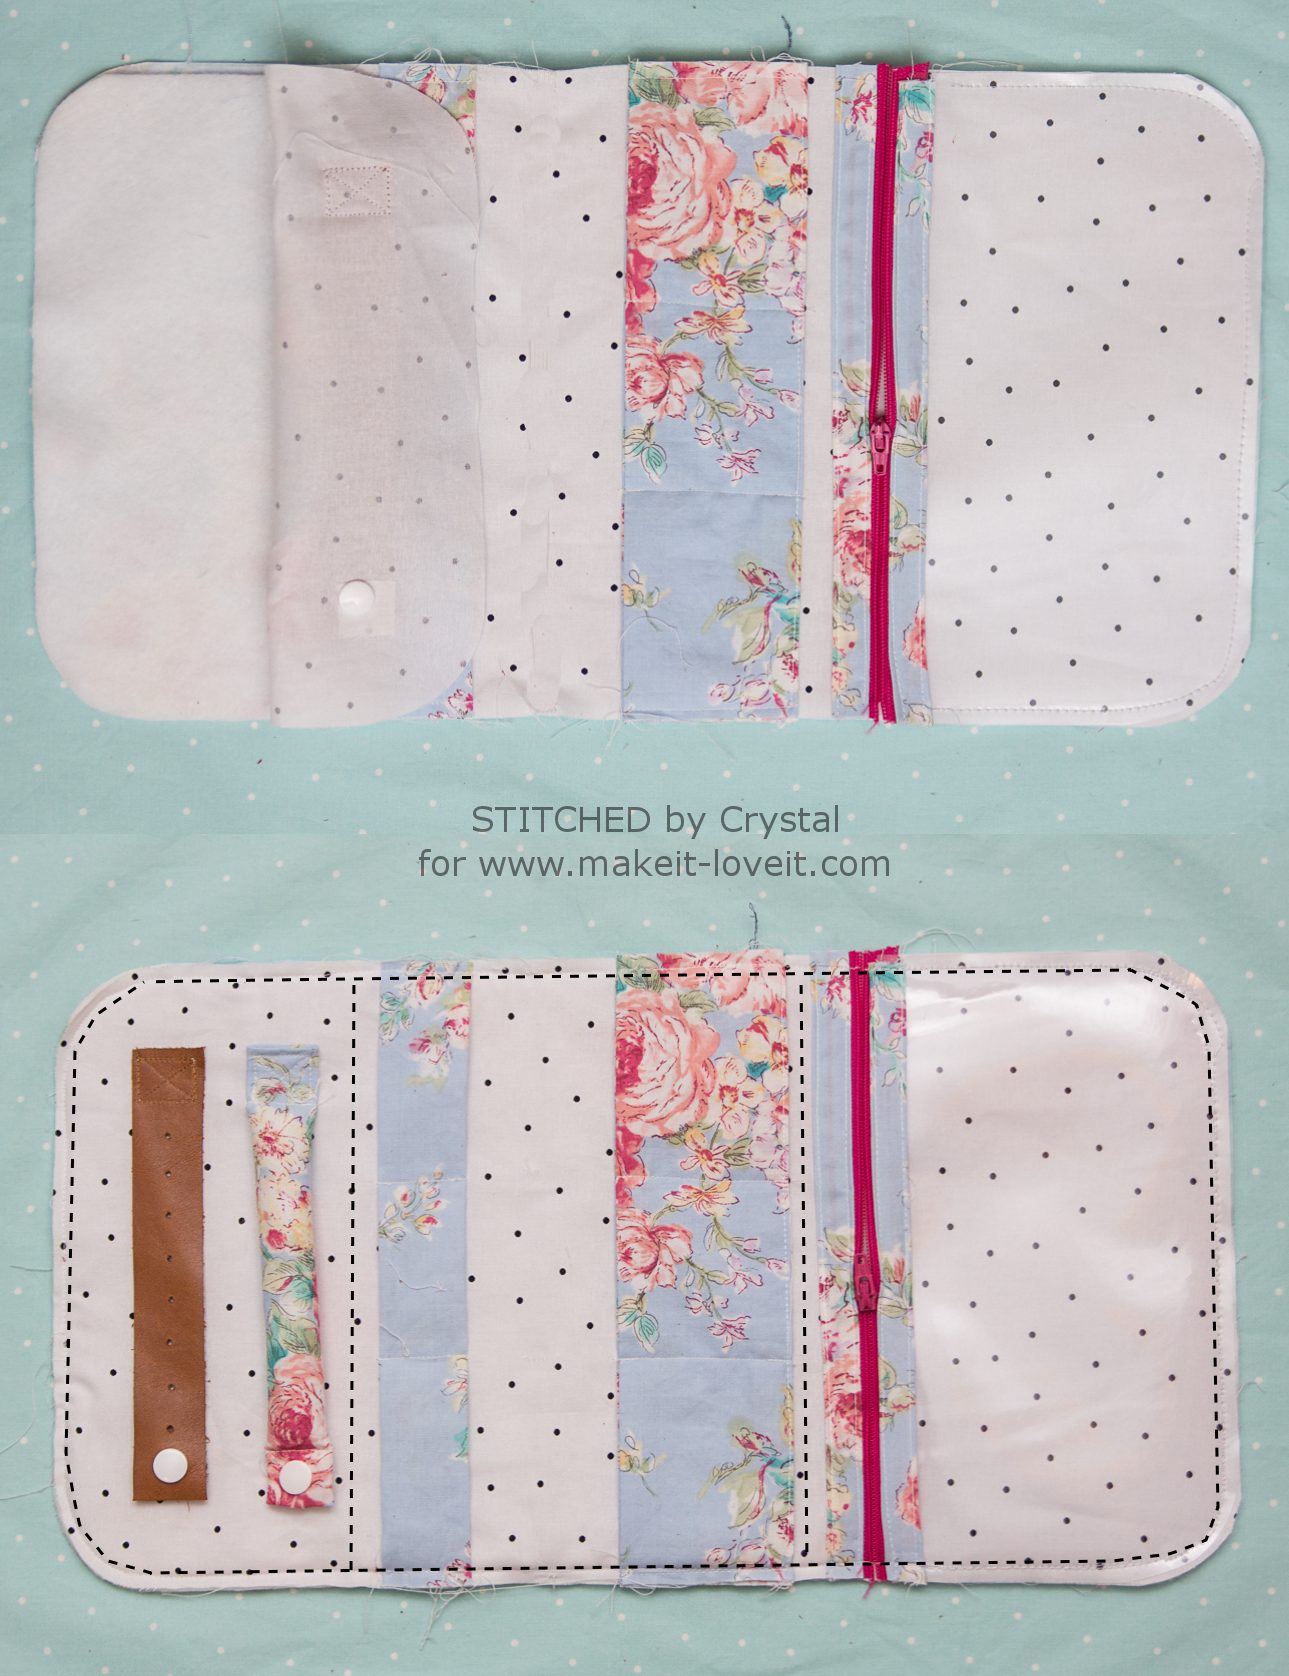
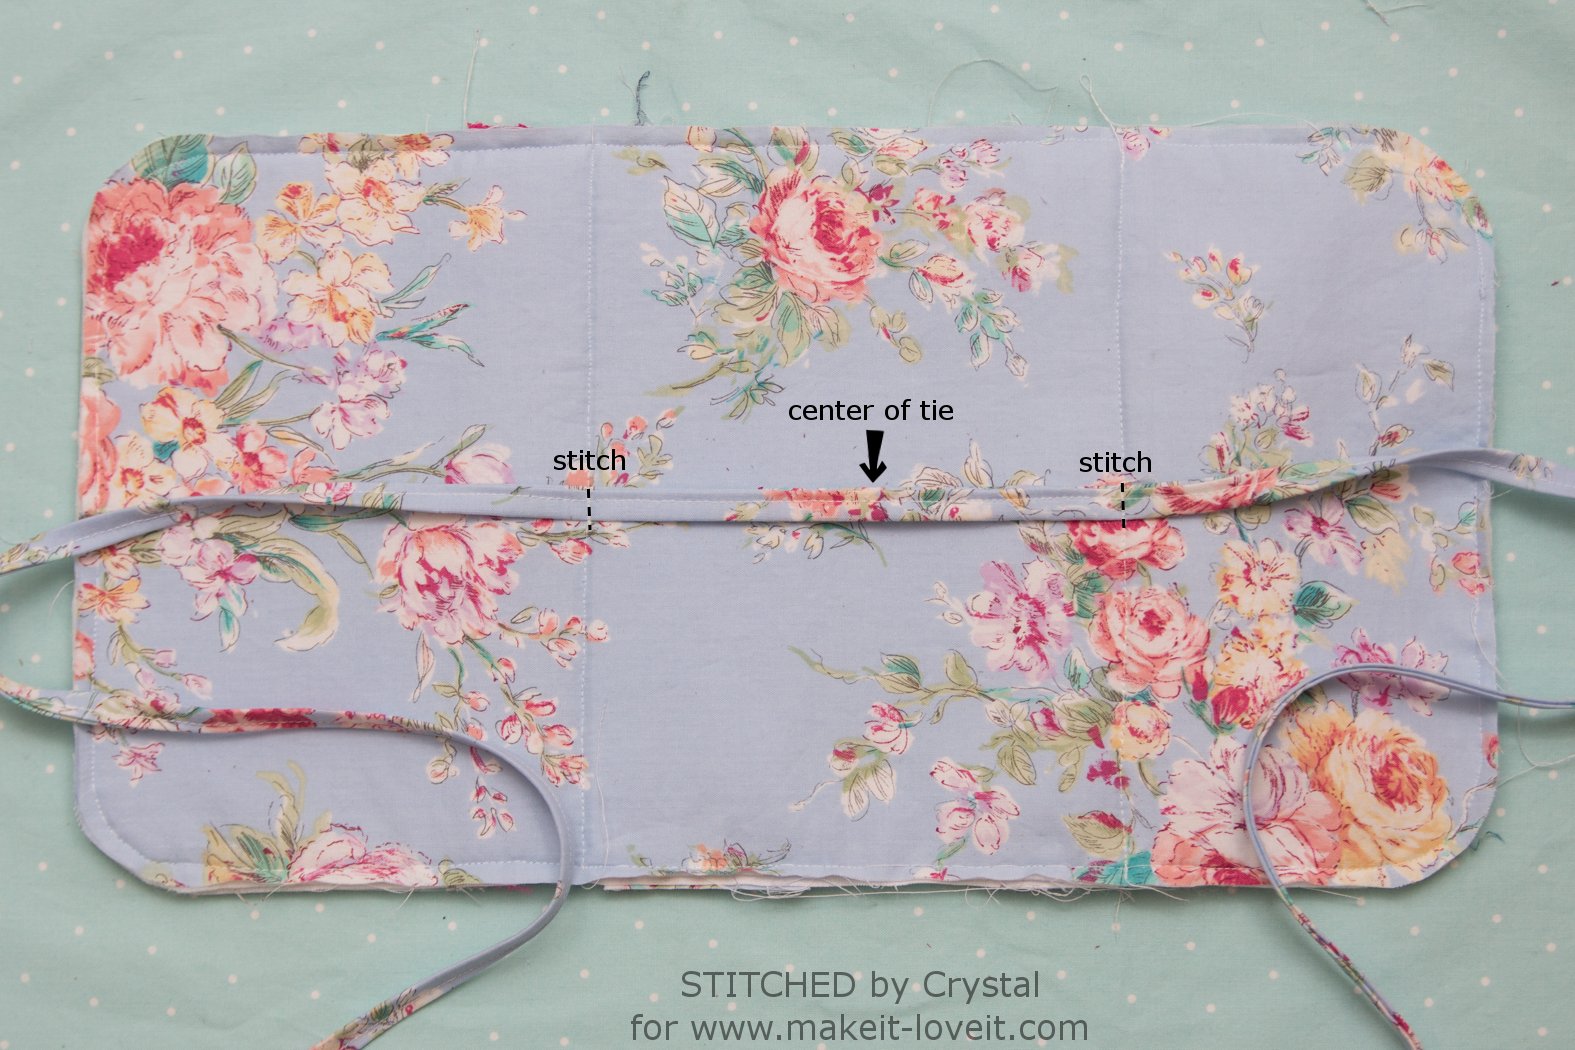
Sew 1 yard of double fold bias tape shut along the open edge to create a tie for the clutch. Find the center of the tie and line it up at the center of the middle panel on the outside of the clutch. Stitch the tie in place along the lines you just stitched in the clutch on the previous step.
Add double fold bias tape to the outside edge of the clutch. (Check out this post for tips on making and using bias tape!)
Fold up the case and tie it shut. Trim the tie to your desired length and knot the ends.
The clutch is done! Now fill it up with jewelry for your next vacation!
Thanks for reading!
-Crystal

Check out Crystal’s blog here. Her darling shop here. Follow her on Instagram here. And her Pinterest page here.
. . . . .
Now you’ll want some new jewelry pieces to carry in your fabulous jewelry clutch! Check out some of our favorite jewelry tutorials, get your craft on, and then get packing!
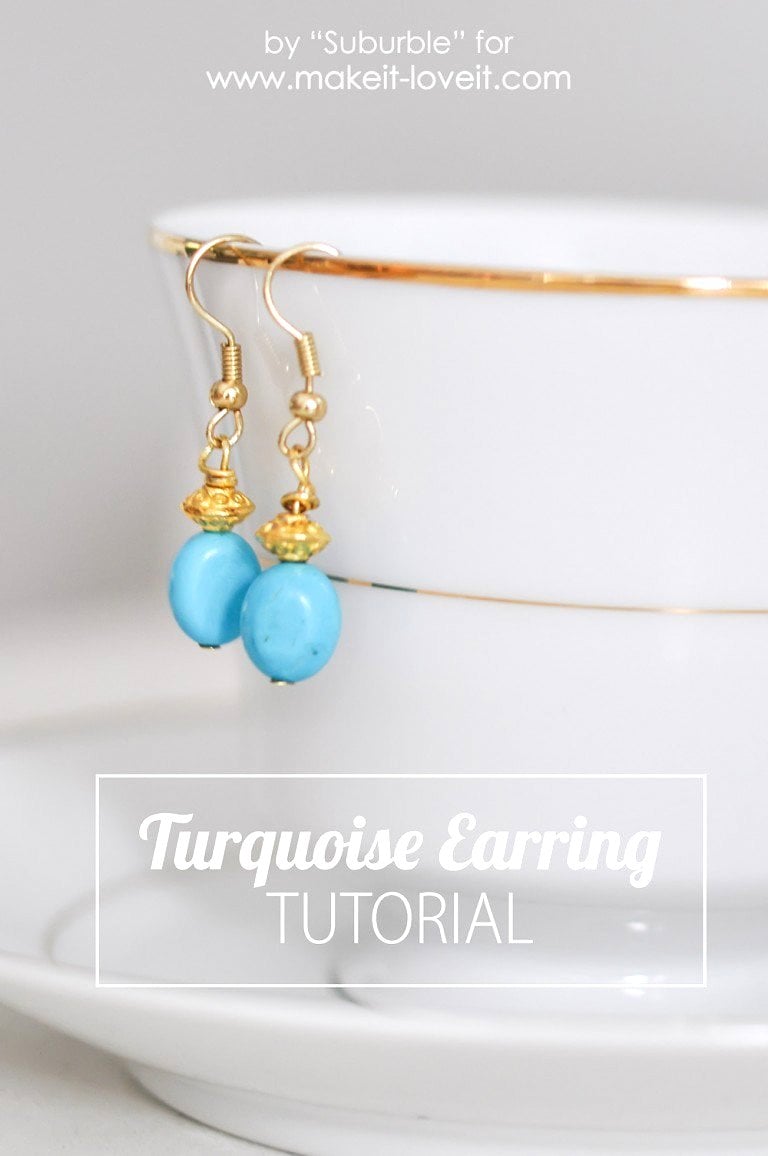
Easy Turquoise Earring Tutorial
Altering Used/New Jewelry……and making it your very own.

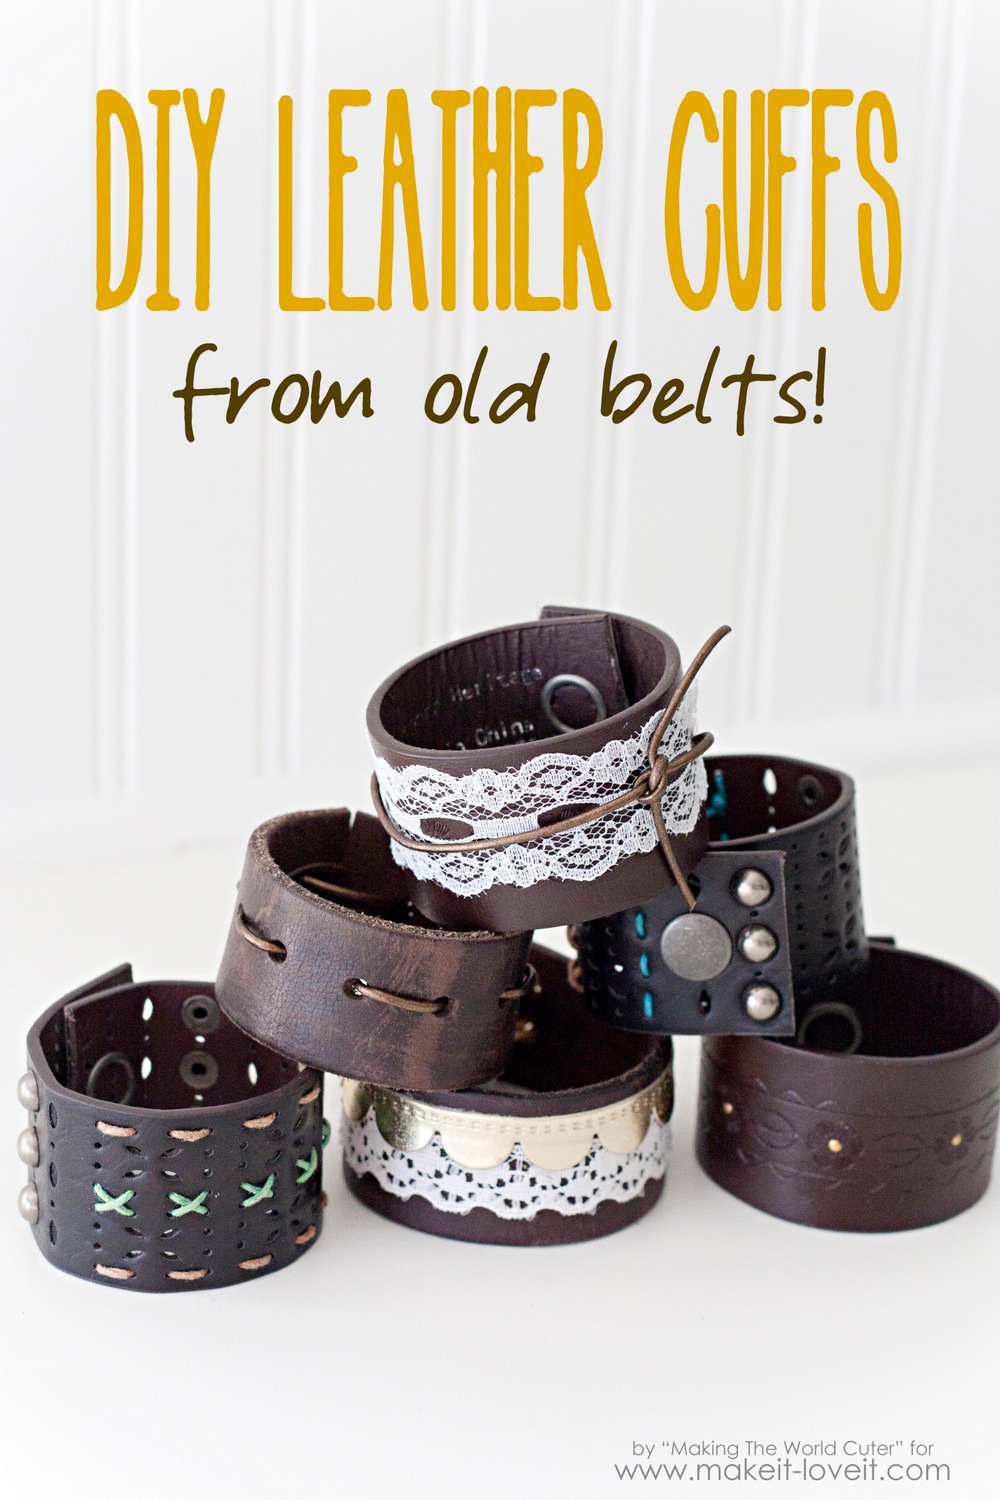
DIY Leather Cuffs from Old Belts