Today’s contributor is Emma from Crafting{E}! All posts written by Emma for Make It and Love It, can be found HERE.
. . . . .
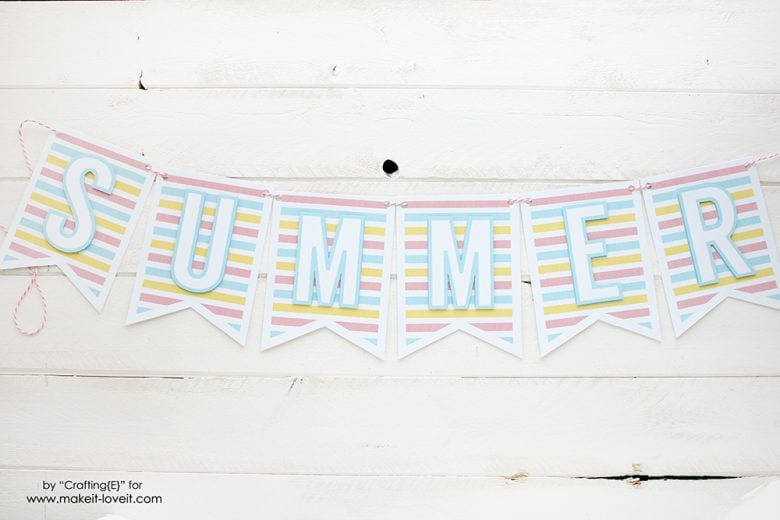
Hi everyone, it’s Emma from Crafting{E}! I am so excited to be sharing this adorable SUMMER banner today! Oh, and did I mention… this banner is printable… and it’s 3D? If you read my blog at all, you know I am a HUGE fan of banners and I especially love to design printable banners because they basically cost pennies.
I don’t know about you, but I am SO ready for school to be out for the summer. I am currently a sophomore in high school and this time of year is full of finals, AP tests and STRESS.
I originally made this banner for me to put in my room to give me motivation to finish strong in this last quarter of school. After having it in my room for a couple days I decided I loved it so much that I wanted to share it with you.
The colors are just so bright and happy and make me so pumped the long-anticipated summer vacation. The great thing about this banner is that you basically only need a printer to make it, they are SO cost effective.
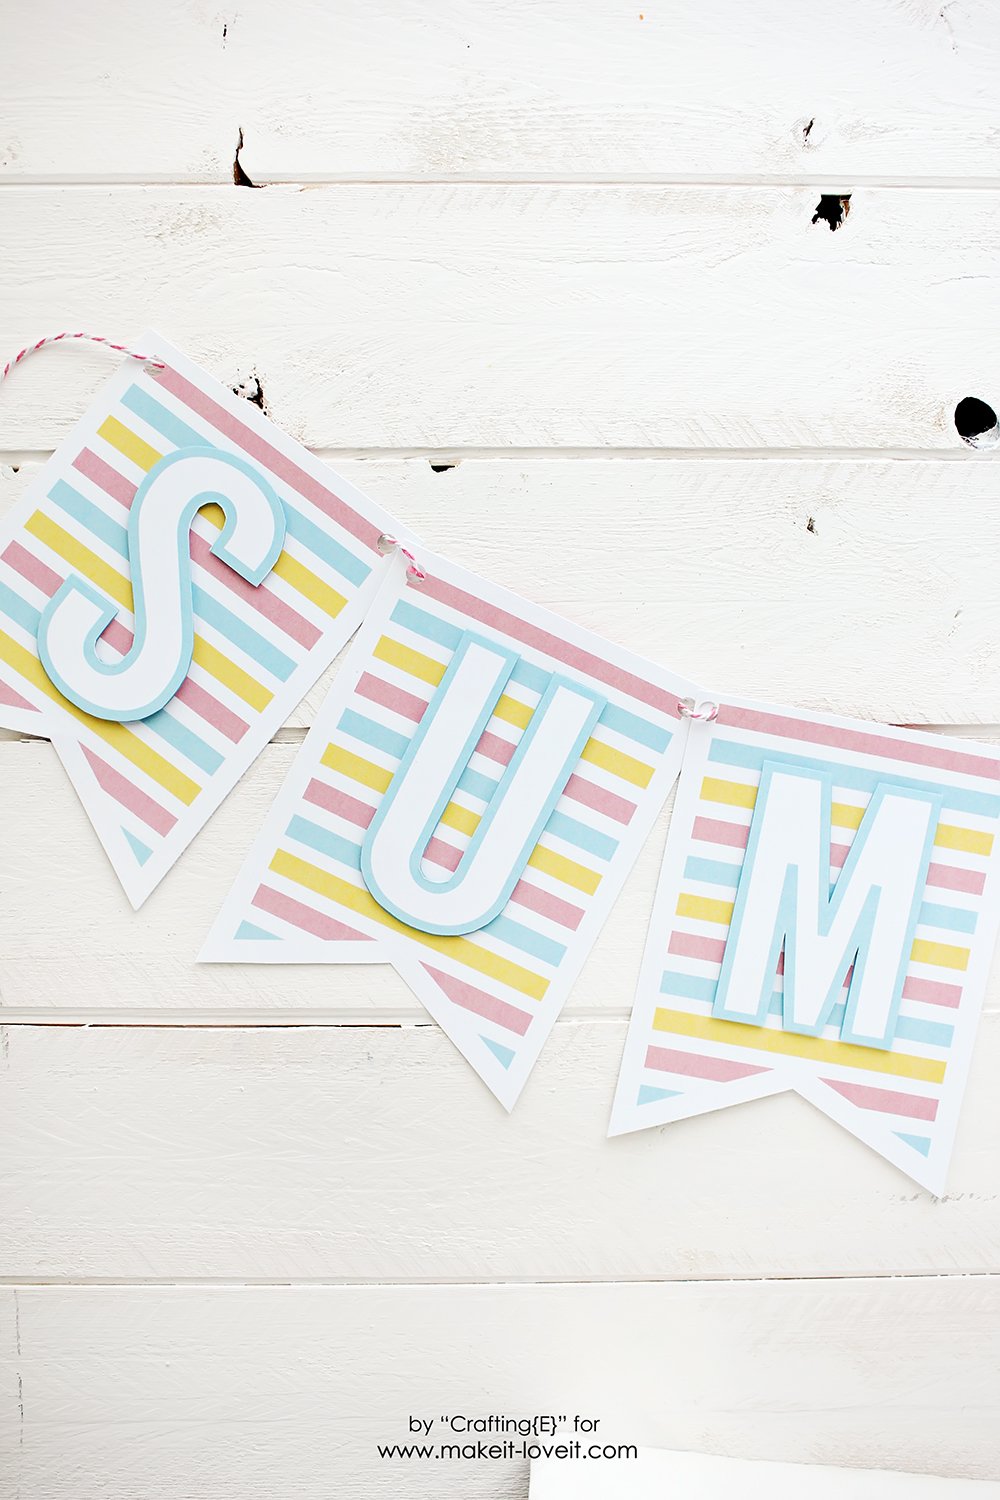
It’s a little hard to see in the pictures, but the letters in the word “summer” are actually raised higher than the striped background to create a 3D effect. Do you guys love that as much as I do?
I am so in love with it! What do you guys think? If you are interested in more FREE printable banners make sure to check out my blog… I even have an entire page on my site dedicated to banners.
Okay, now on to the assembly process.
MATERIALS:
- FREE printable banner sheets (a link can be found at the end of the materials list)
- bakers twine or and other type of string
- tape
- hole puncher
- 3D foam dimensional stickers or glue dots.
DIRECTIONS:
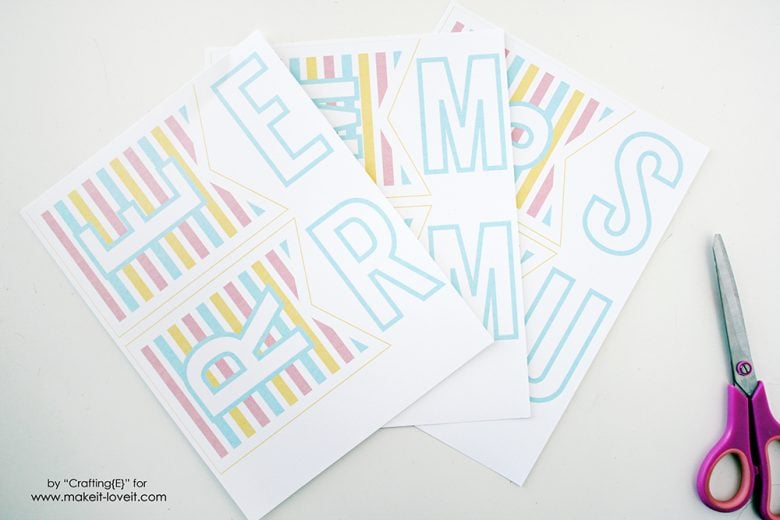
- First print out the FREE printable banner sheets on white card stock.
- Next cut out the flags along the thin yellow line.
- Now, carefully cut out the letters from the printable banner sheet.
- Next, take each flag and place foam dimensional stickers on the letter part of the flag as shown in the picture.
- Then peel off the paper on the foam stickers and place the corresponding letter on top of the foam.
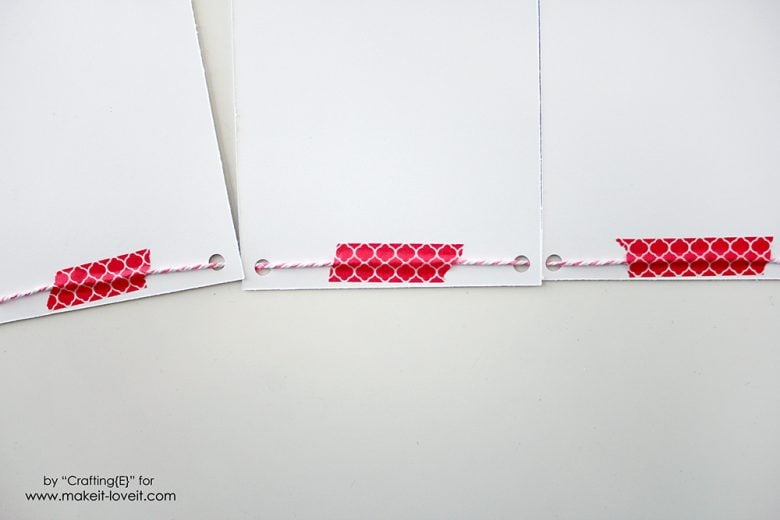
- Next, punch a hole in the upper corners of each flag and use bakers twine to string each flag together.
- Secure each flag with a piece of tape on the backside of the flag.
Well, that’s it for today.
I hope you guys love this banner as much as I do! Make sure to check out my blog and also follow me on pinterest for more creative inspiration!
-Emma
. . . . .
I don’t know very many people who don’t LOVE summer, and we are no different here at Make It & Love It! Check out these fabulous ideas for making the most out of summer this year:
12 Ice Cream Crafts to keep your little ones busy.
25 Outdoor Summer Activities for Kids
9 Refreshing Recipes to Keep You COOL this Summer!


visit When your website or blog goes live for the first time, it is exciting. That is until you realize no one but you and your.
ReplyDelete