Today’s contributor is Tiffany from Making the World Cuter. All posts written by Tiffany for Make It and Love It, can be found here.
. . . . .
Hi everyone! It’s Tiffany from Making the World Cuter!
This craft cart tutorial has been on my to do list for like 6 months now, so I thought it was about time to get a move on it! I had a bunch of machines that were taking up space on my desk, my table and then (embarrassingly enough) a lot of the time they were on the floor in the corner of my craft room. I just didn’t have a dedicated spot for them.
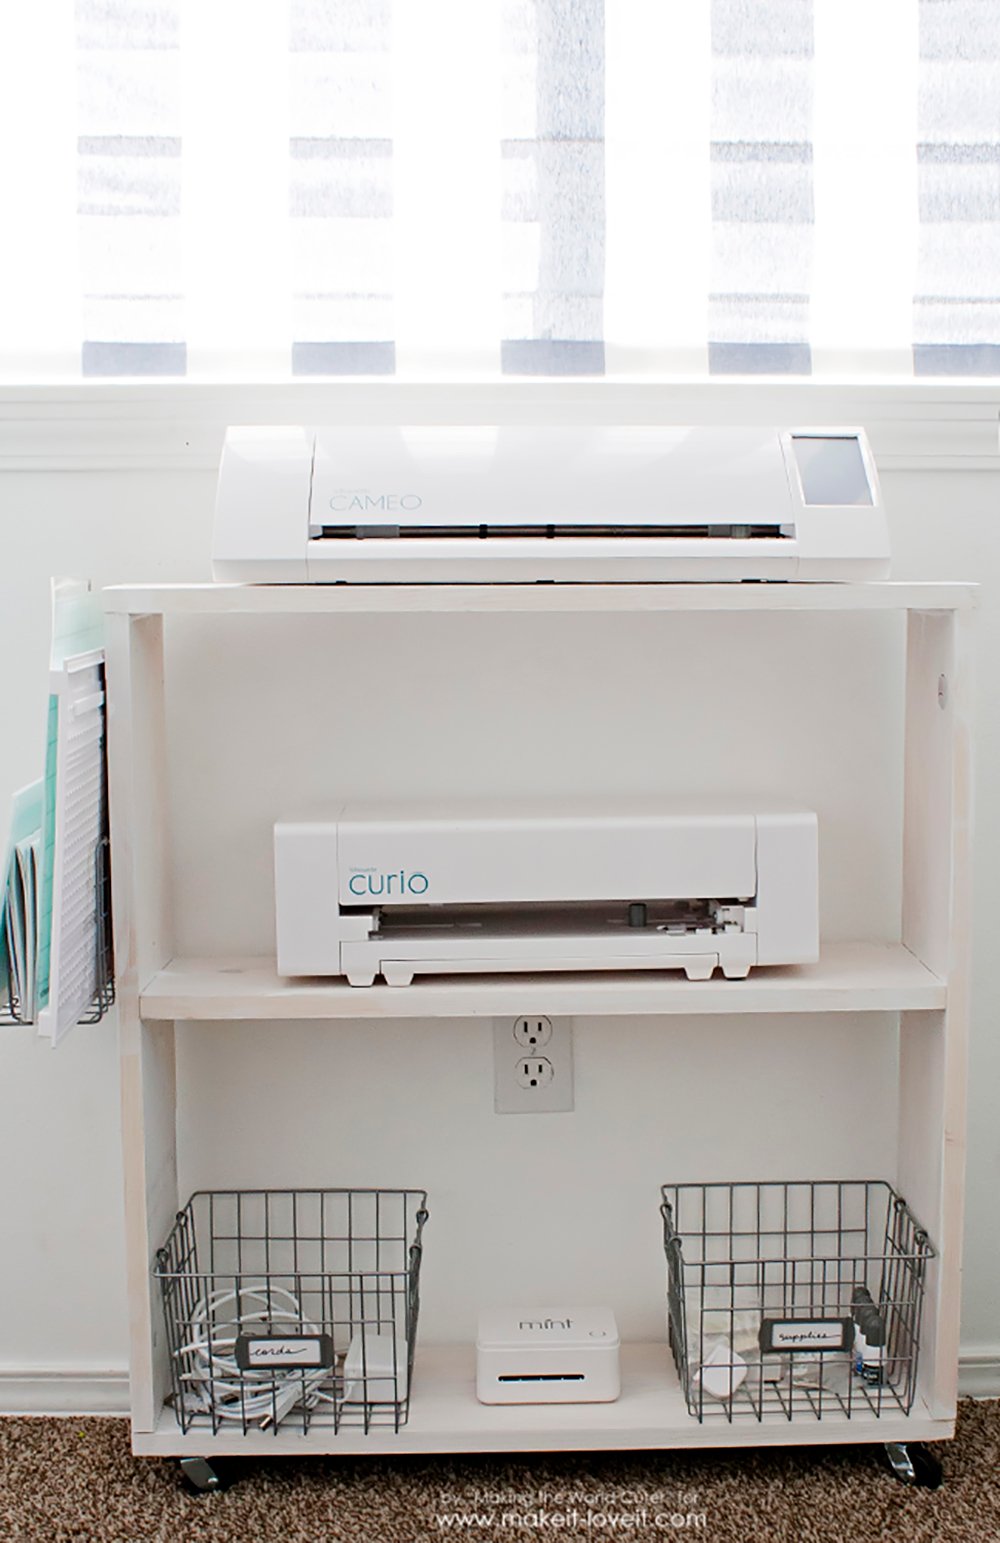
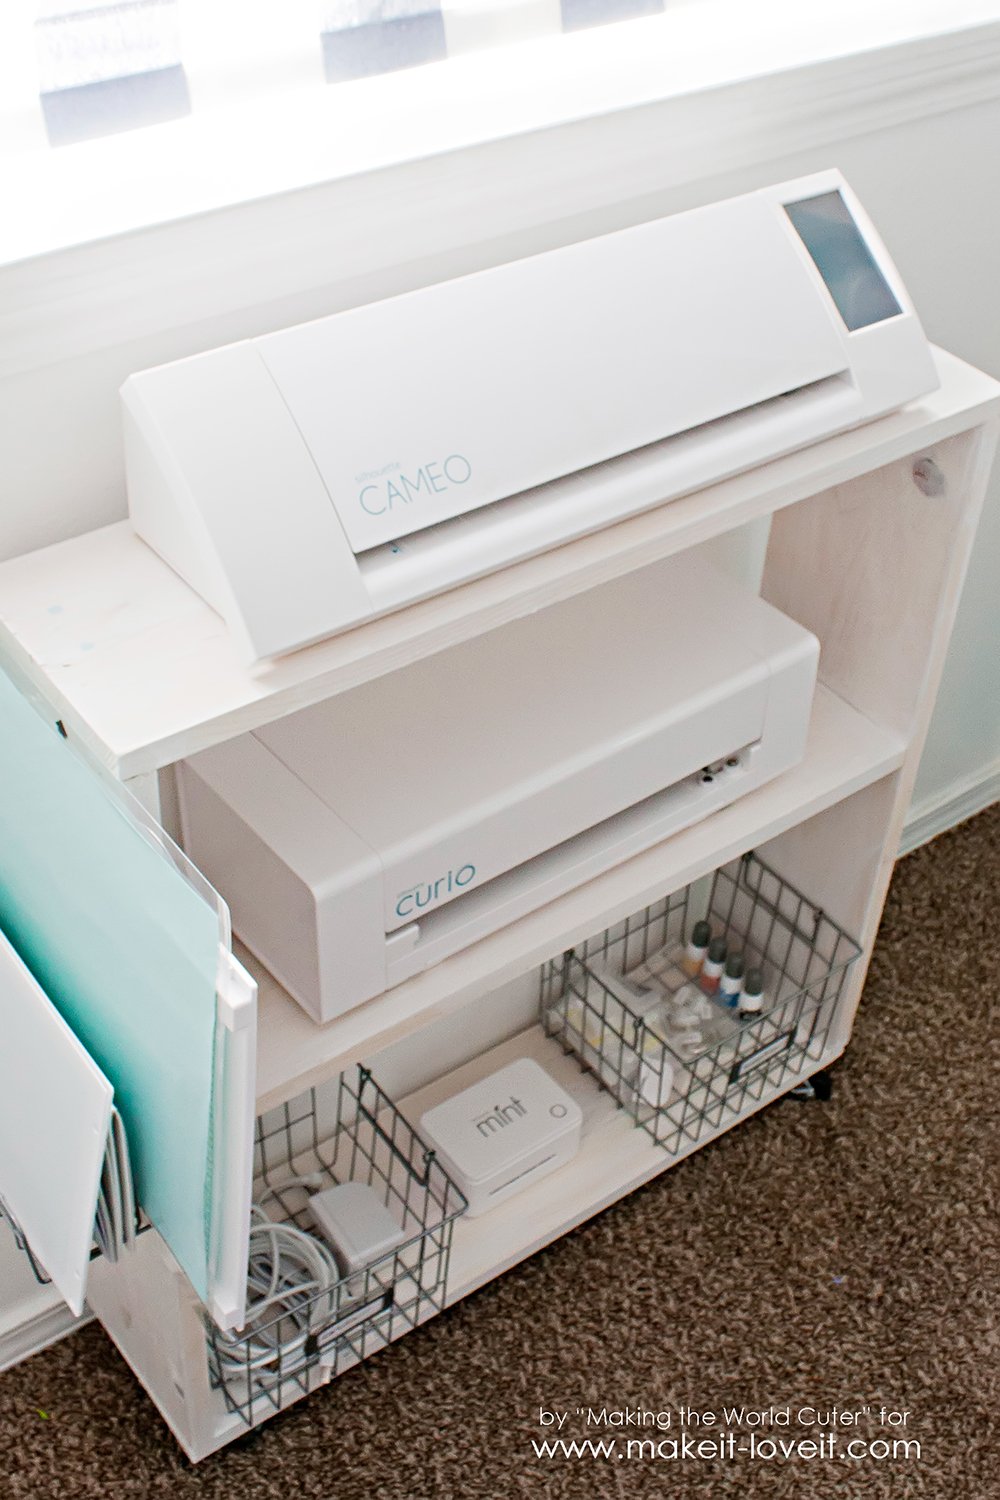
But now, when I want to use one of the fun machines, I just roll over this cart, plug it into the computer and get to playing! Because there is no back to the cart, the mats can go forward and backward with no obstacles. Love it!
Up until Christmas I only had a Silhouette Portrait and it fit nicely in my craft room in front of my sewing machine…and it was only slightly annoying to move it out of the way when I needed to access the sewing machine. Also only slightly annoying when I actually used the Silhouette and it hung off my desk like 3 inches while I was cutting.
Then for Christmas, my husband got me that cute little Silhouette Mint to make stamps, and oh my word I love that thing now, but I was intimidated by it until just this last month…and hadn’t used it at all! (Shame Face) For my birthday…which is only 10 days after Christmas, the lovely Cameo showed up on my front porch from that sweet man and so I immediately had no room for that big beauty. I was able to sell my Portrait, but the Cameo is LOTS bigger and I couldn’t really let it hang off my desk like 8″ without worrying about it falling, so that needed to be rectified! Finally the husband of the century got me the Silhouette Curio for Valentines Day…so I’m pretty much a one stop shop now! Just needed a place to put them all!
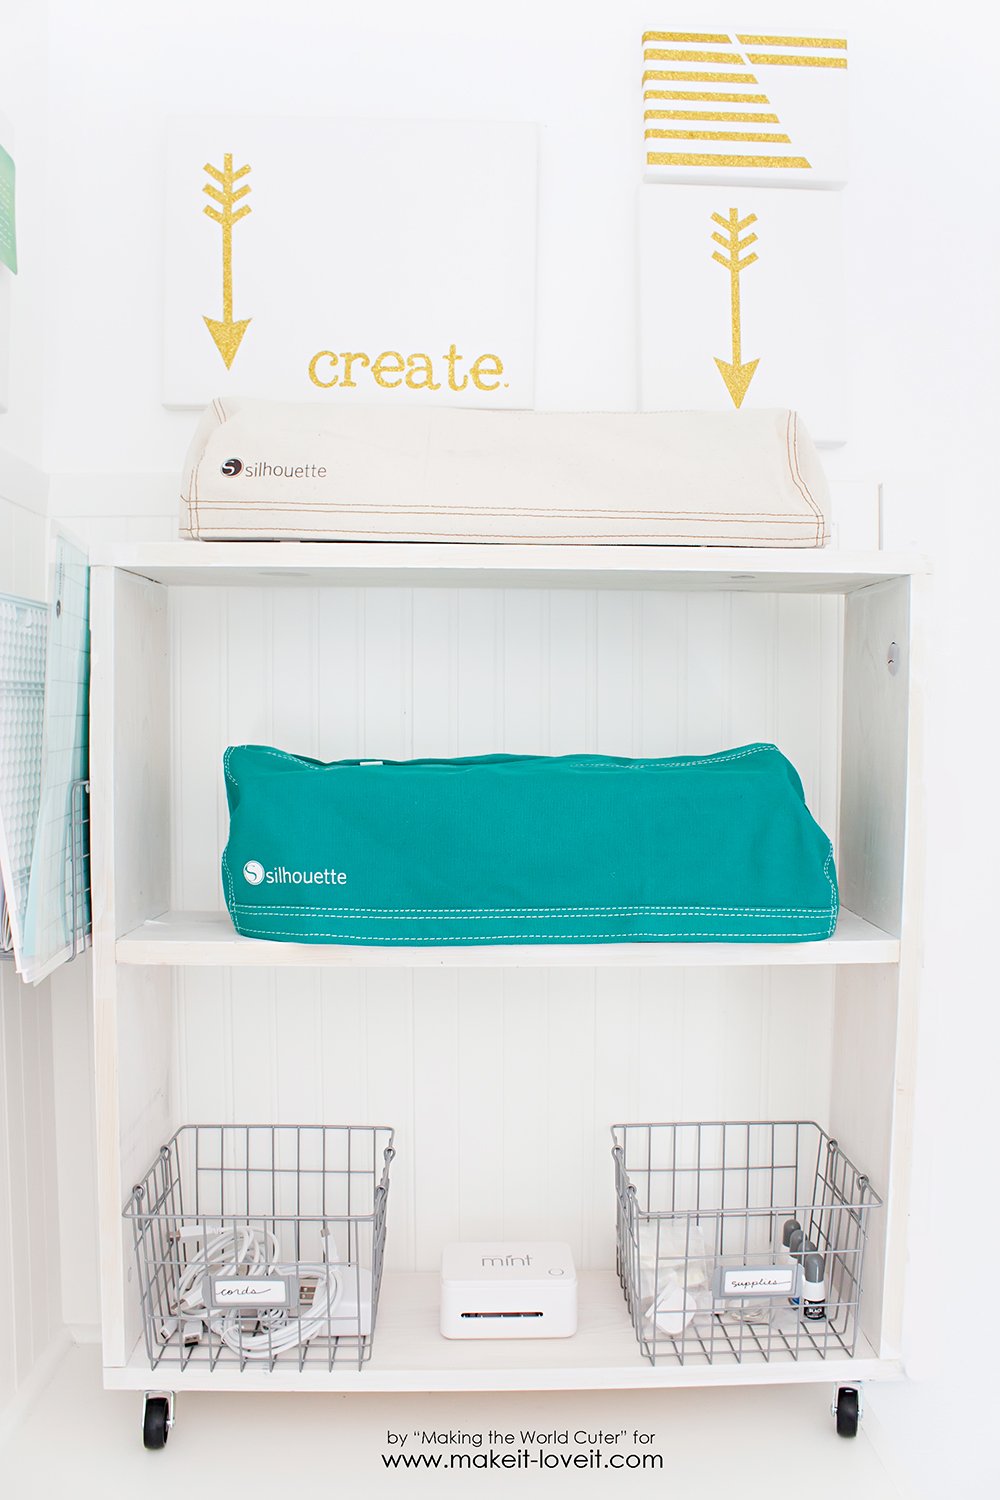
This craft cart has been a lifesaver! I can wheel it next to my desk and can use all the machines right there without moving them off the cart. I can wheel it under my craft table when I need the whole floor space, or I can roll it under the window where it stays most of the time. Not to mention it looks pretty dang cute. :)
Do you have some things to organize that could use a craft cart? Let’s build one!
DIY Craft Cart
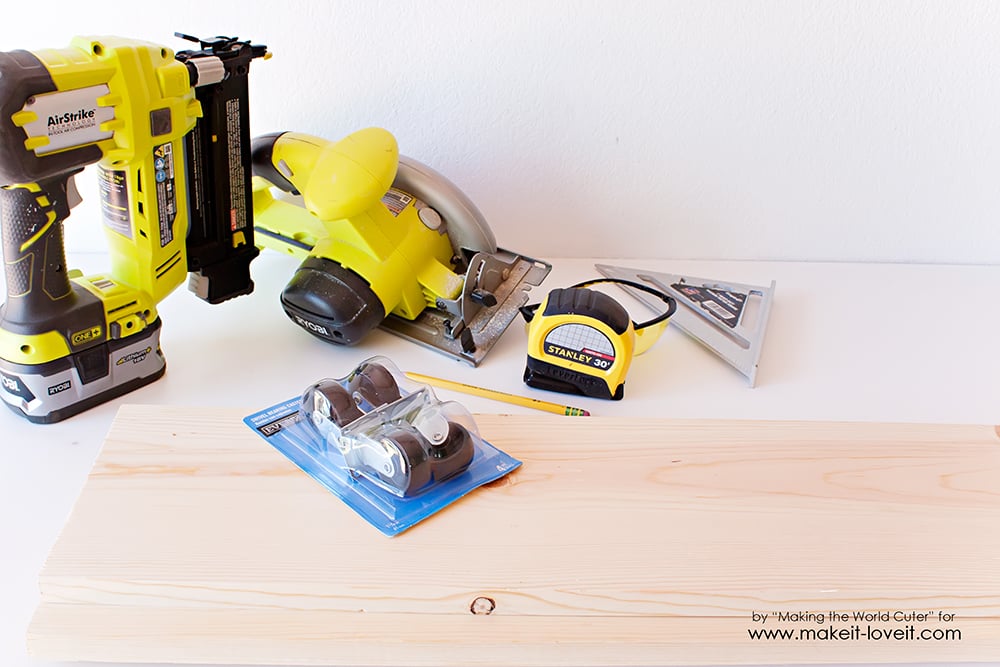
Supplies needed for your craft cart:
- Drill and screws 1 1/4″ (6)
- Nail gun with nails (1 1/4″) or hammer and nails…or extra screws would also work
- Saw, or a way to cut the wood (you can have the Home Improvement store cut it I’m sure).
- Casters (and screws for them if they don’t come with them)
- 1×8 Lumber (I ended up getting two 8 foot boards and had some leftover)
- Paint or Stain
- *Optional Spackle
- *Optional Letter Organizer for side of craft cart
Cut List for your craft cart:
- 4 boards at 27″ each
- 1 board at 25.5″ (middle shelf)
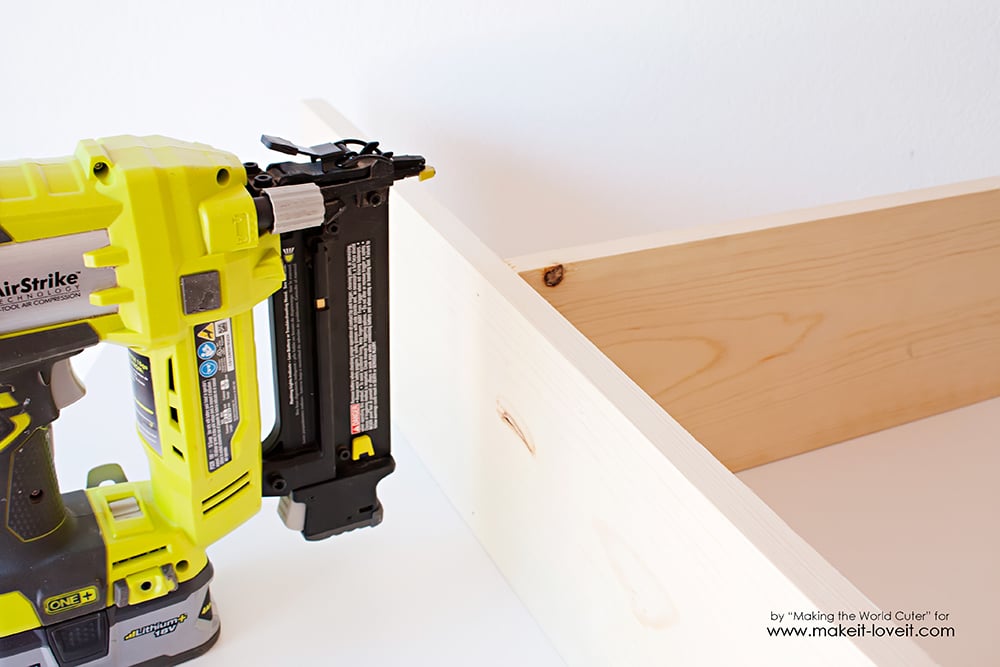
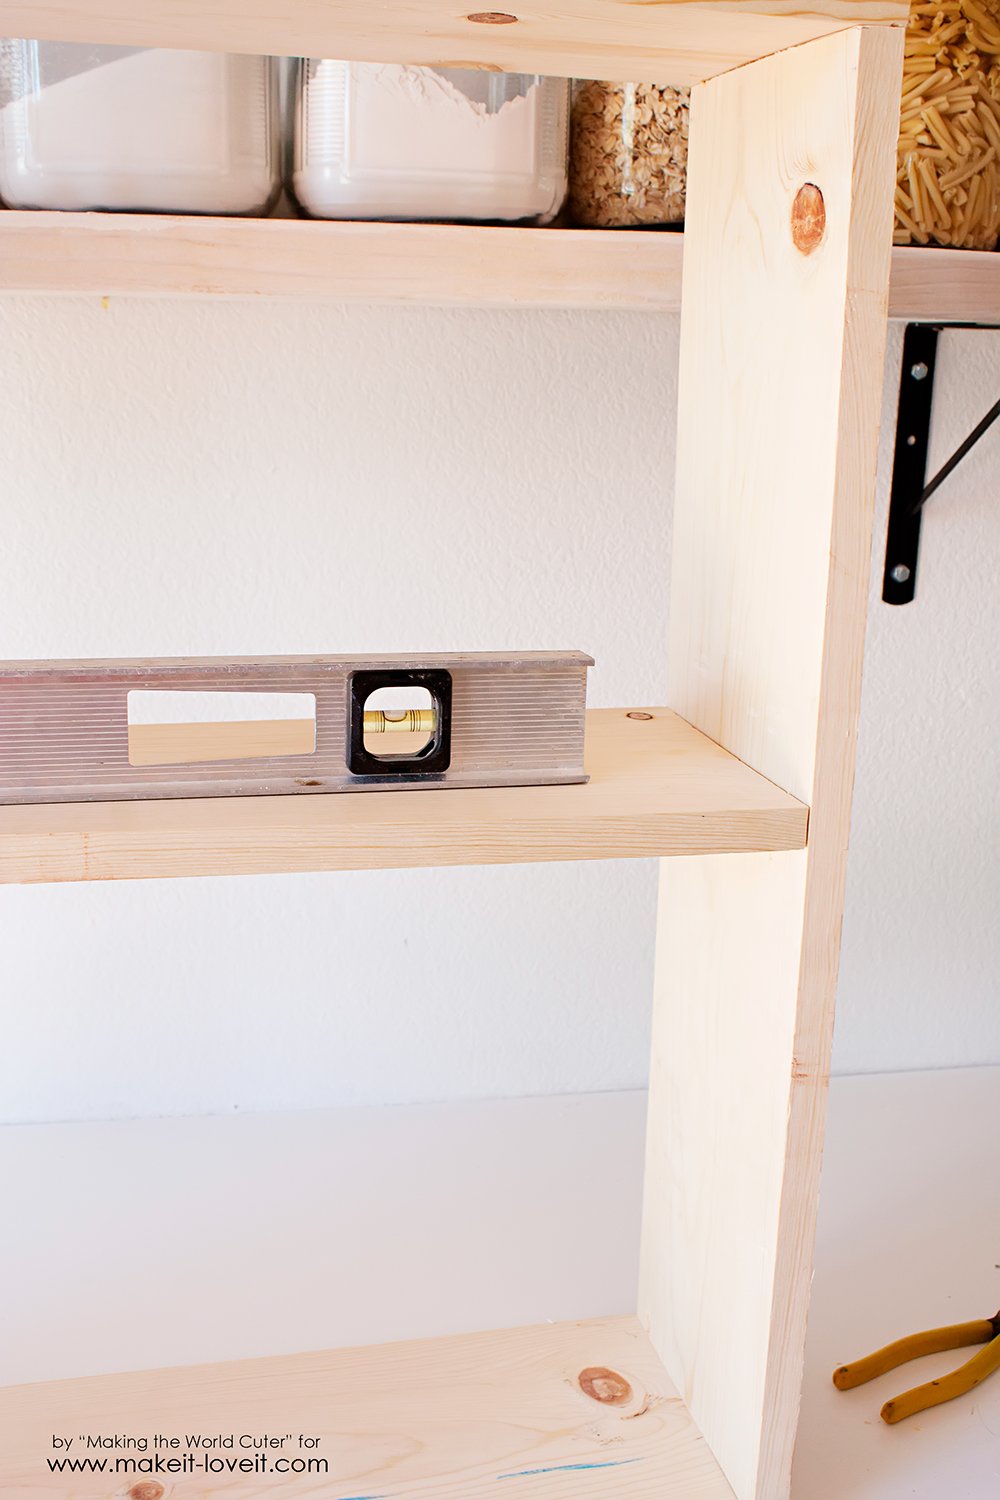
First step after gathering the supplies? Put it together! It’s really simple. The middle shelf is the only one that goes between the outer sides and you can put that at the height you want. I put it directly in the middle, so at 13.5″. I just nailed it in using my nail gun.
I put the top and bottom on and then the middle piece and I used a level to make sure nothing would roll off. I nailed one side in and then put the level on it. Then nailed once it was level. It would have been a little easier to have someone hold the shelf and get it level while I nailed, but I didn’t have that luxury since I’m impatient and didn’t want to wait for the cute hubs to come home.
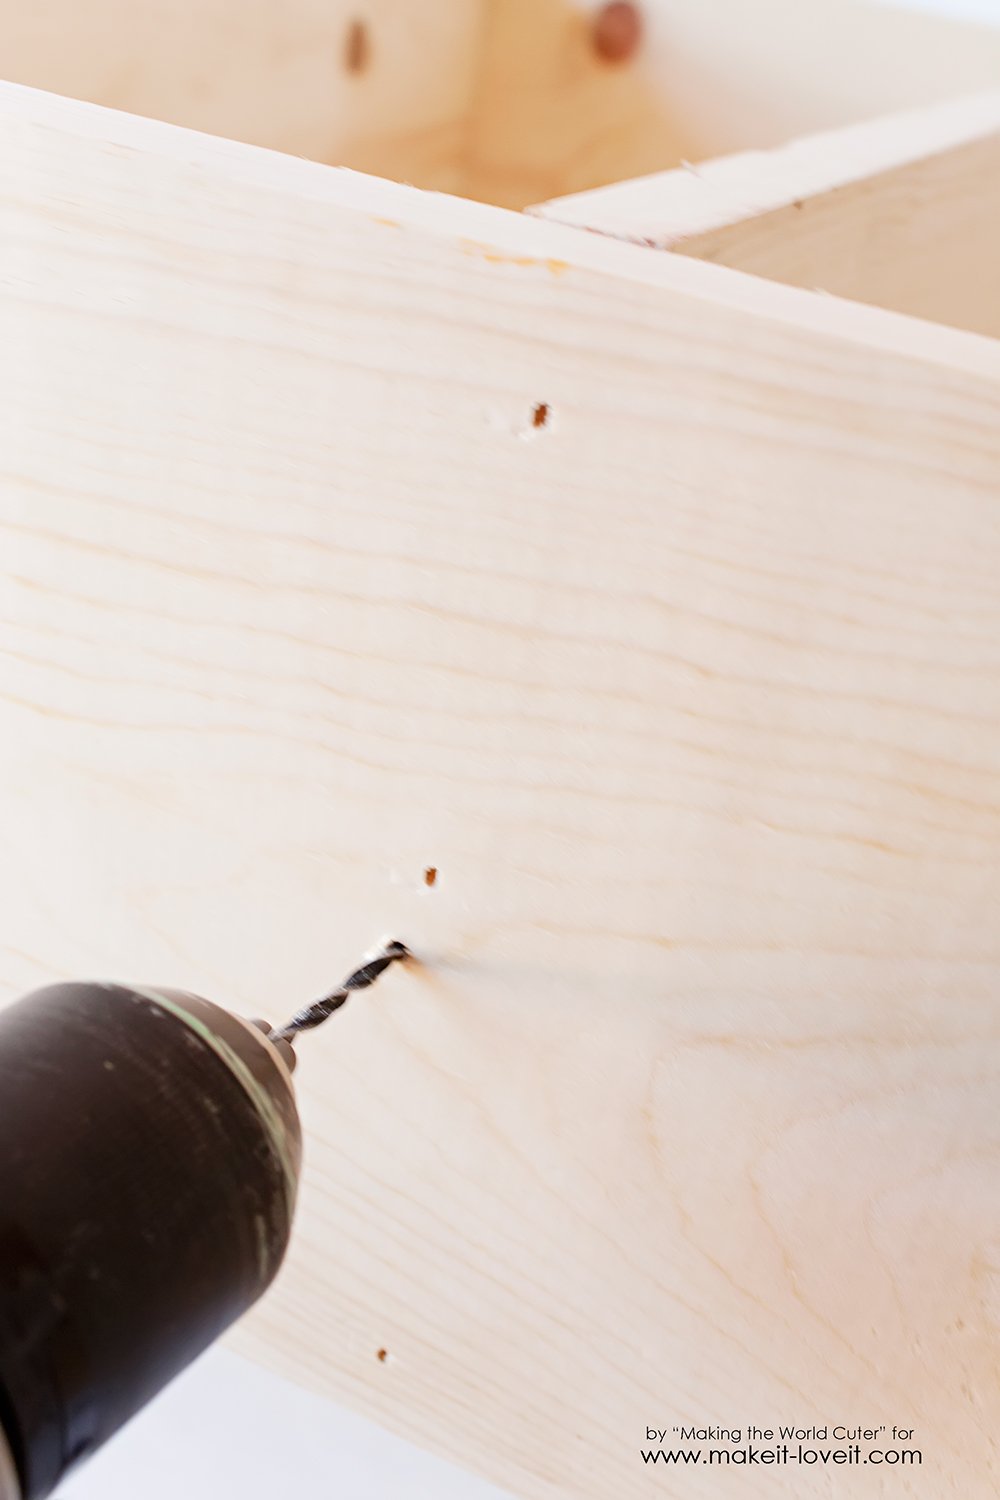
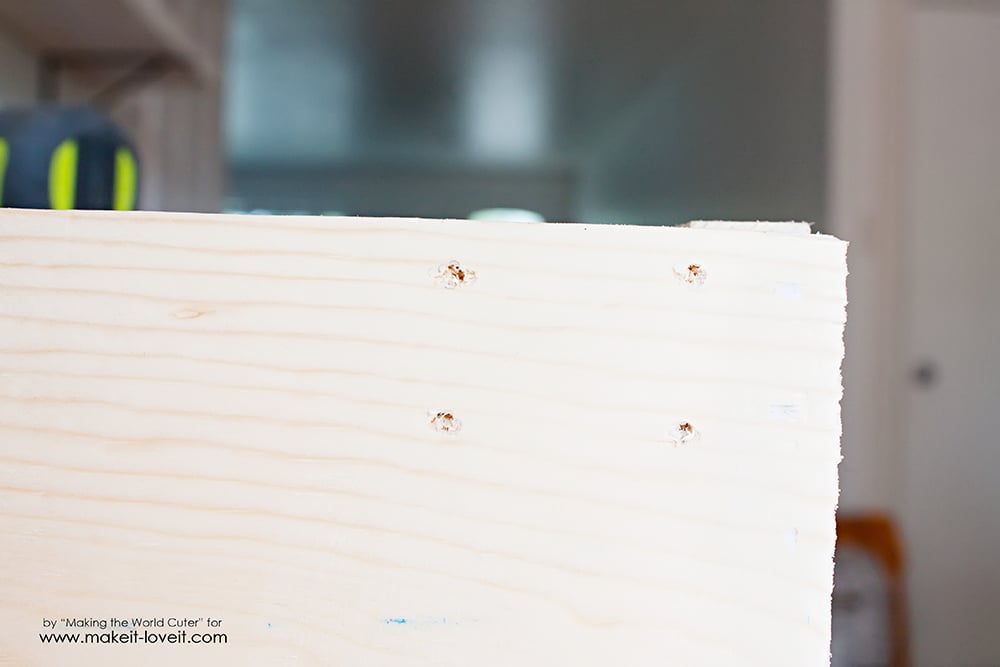
After everything was nailed in, I added a screw to each join, just to make sure it was good and sturdy. The machines it’s carting around are pretty expensive so I want them to be safe. Always drill pilot holes first so that your wood doesn’t split.
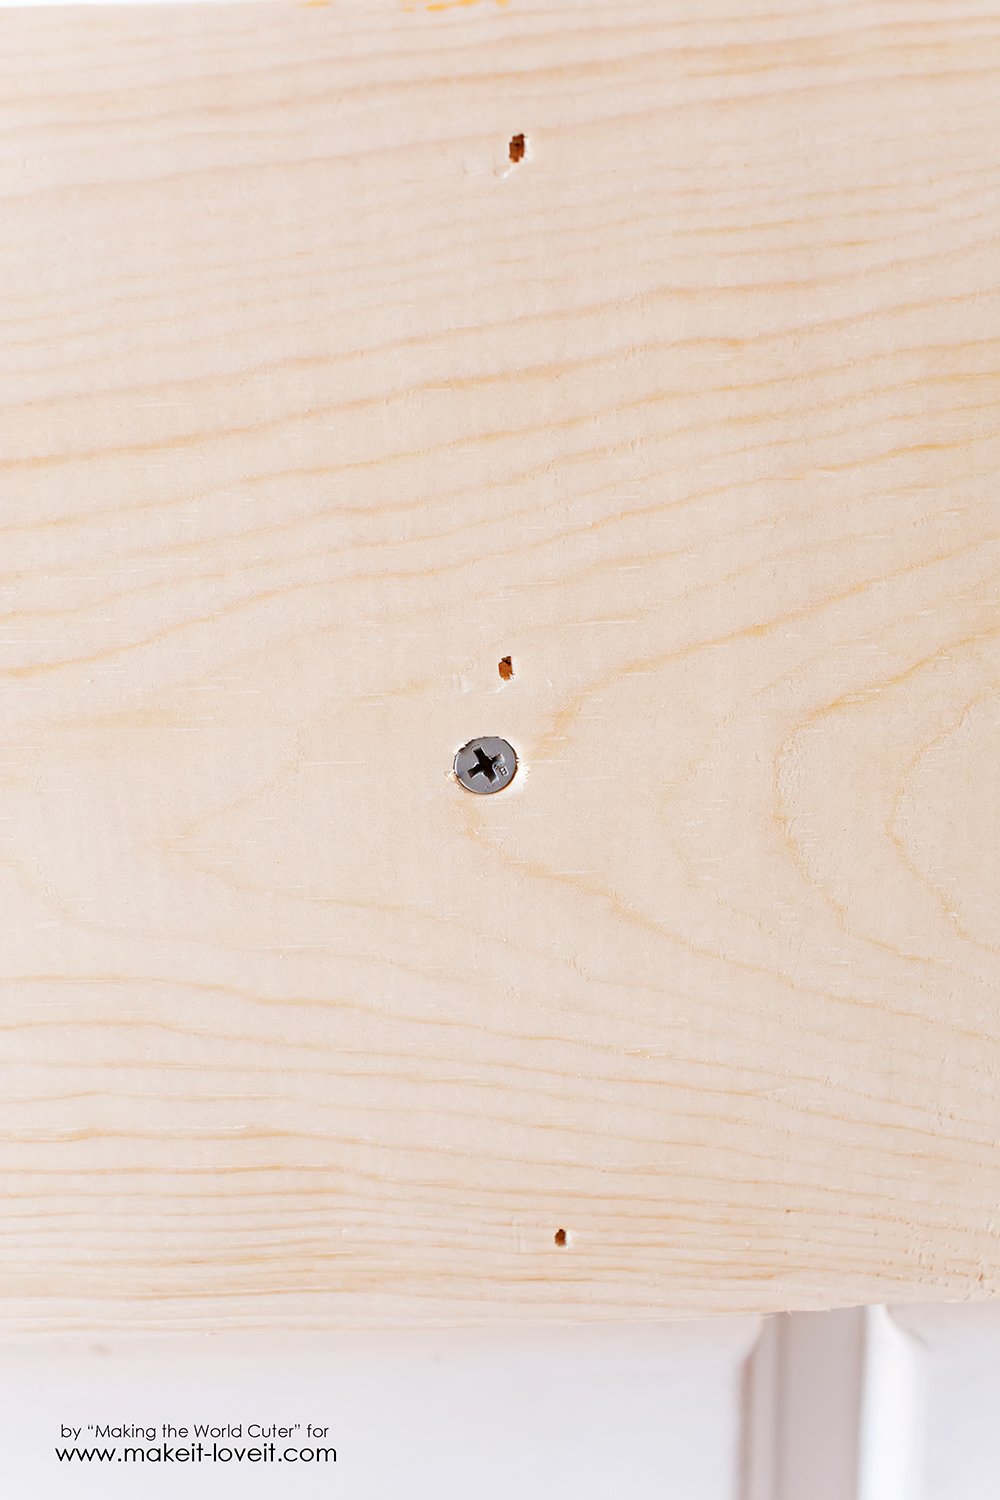
So, as you can see, we have three nail holes and one screw on each place where two pieces of lumber came together. It’s not pretty…so this is where the optional spackle comes in. If you want it to be pretty, I recommend using it!
Just use your finger and fill in the holes, let it dry for a bit and then sand it down for a smooth finish.
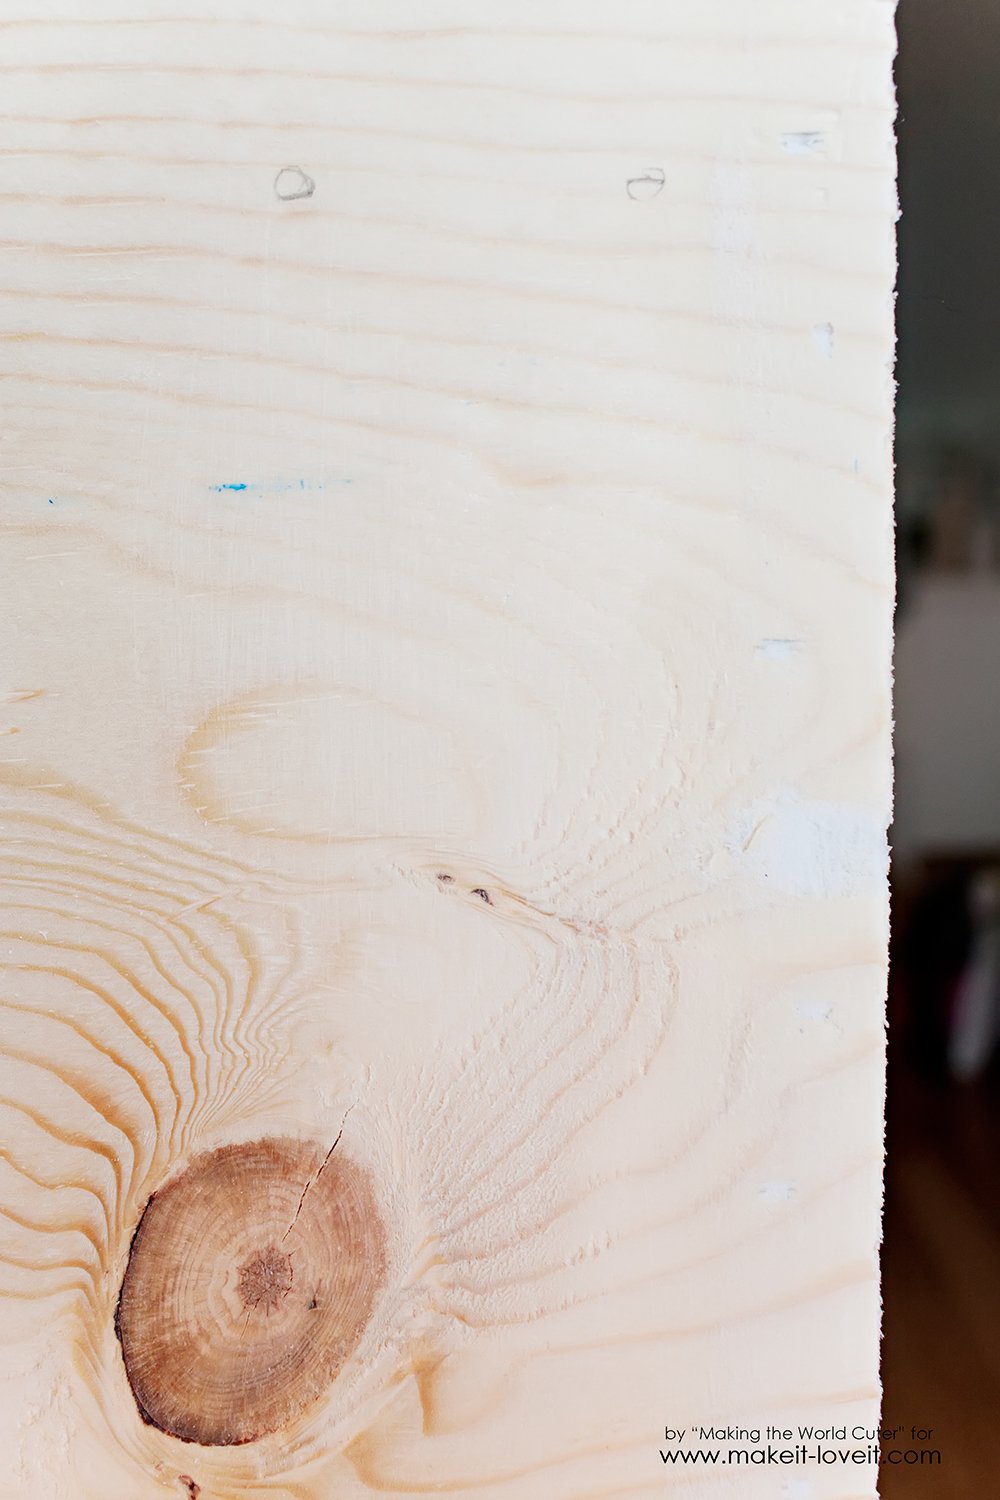
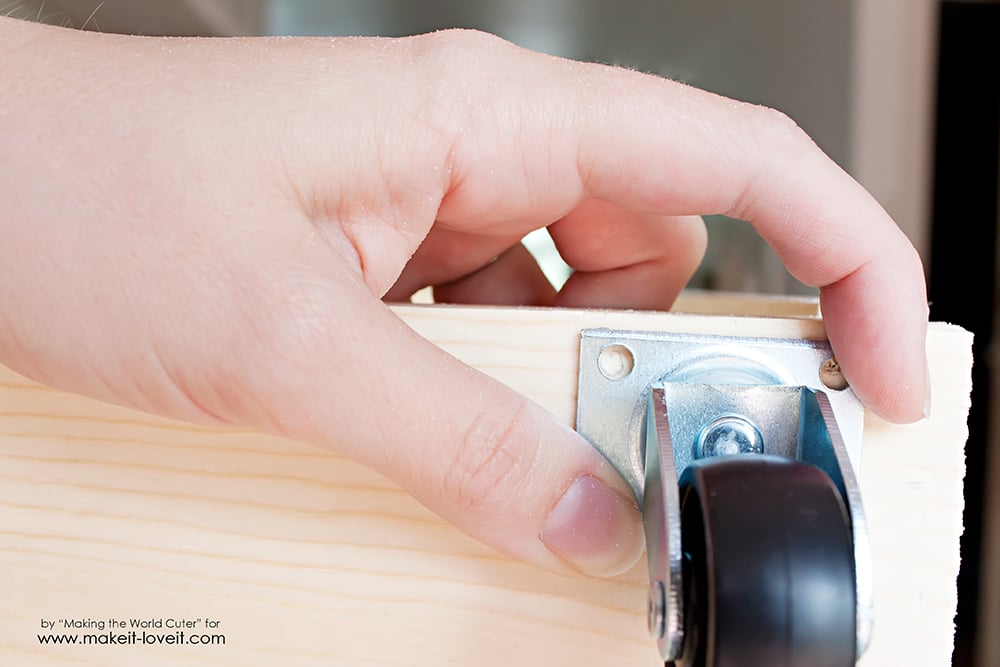
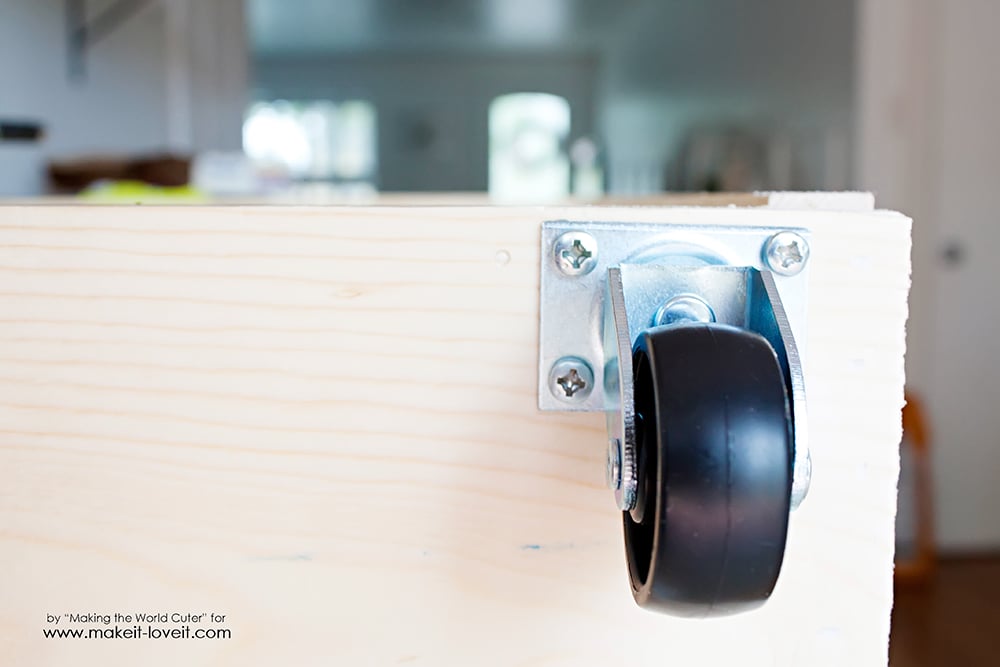
Next we’re going to add the casters. I ended up getting some inexpensive casters, and I might change them out eventually because they aren’t the strongest or easiest to maneuver. They work for now, but you might want to save yourself the headache and get some nicer ones from the get go. I just put the caster up to the board and used a pencil to mark the holes.
Drill pilot holes where you marked.
And attach the caster using a drill and screws, easy peasy!
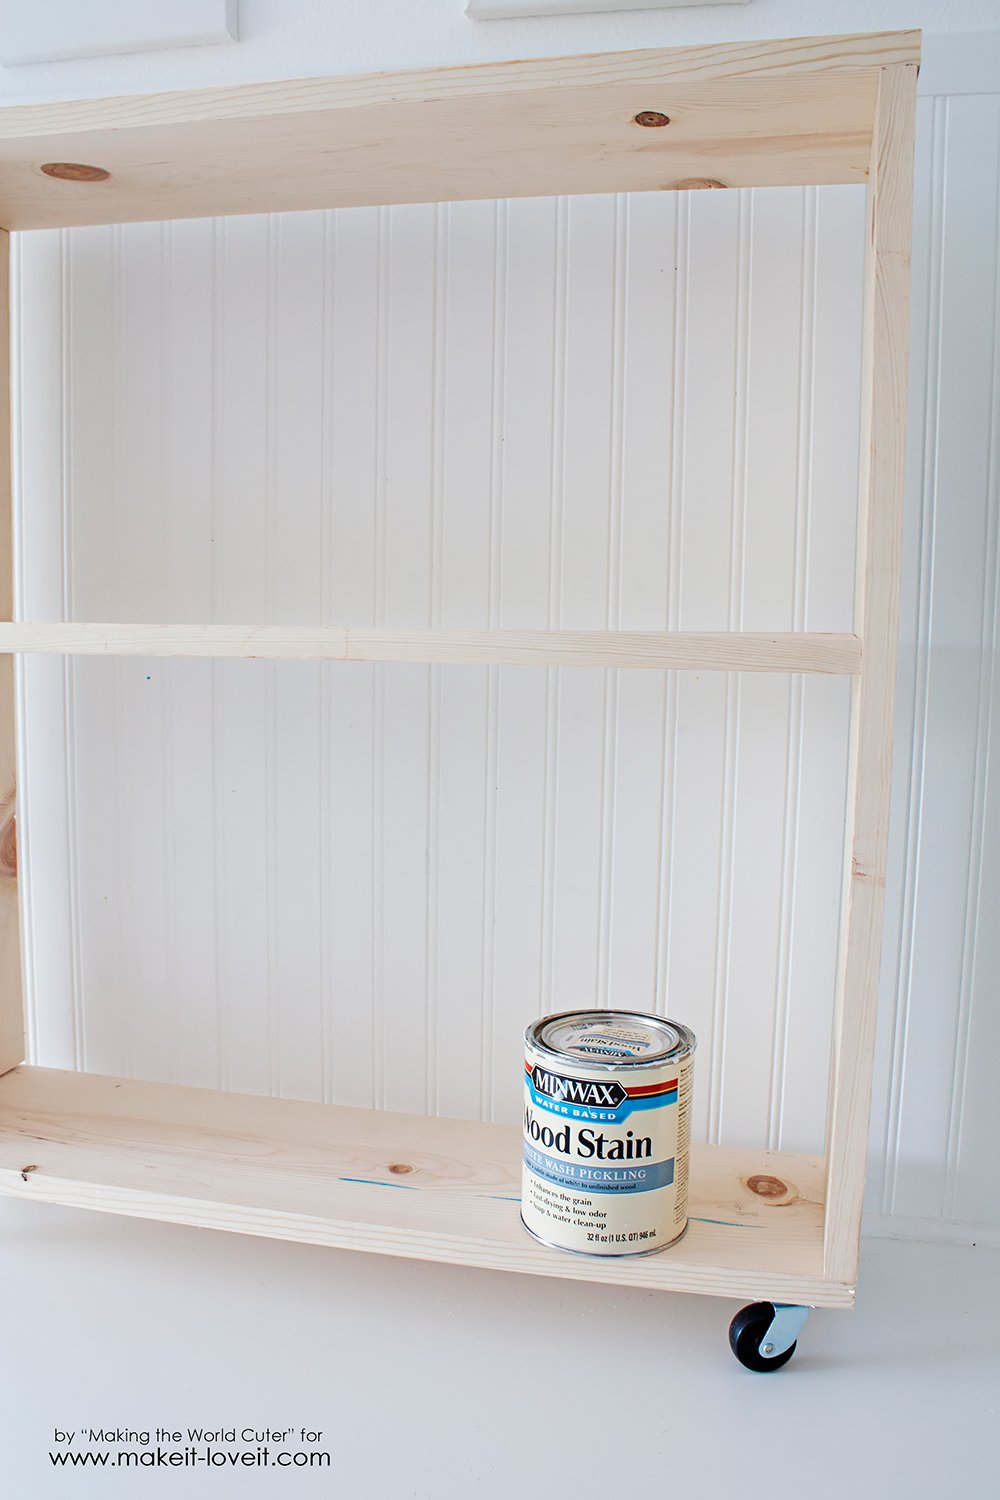
Next it’s time to make it pretty! My favorite part! I used my most favorite stain, it’s called White Wash Pickling.
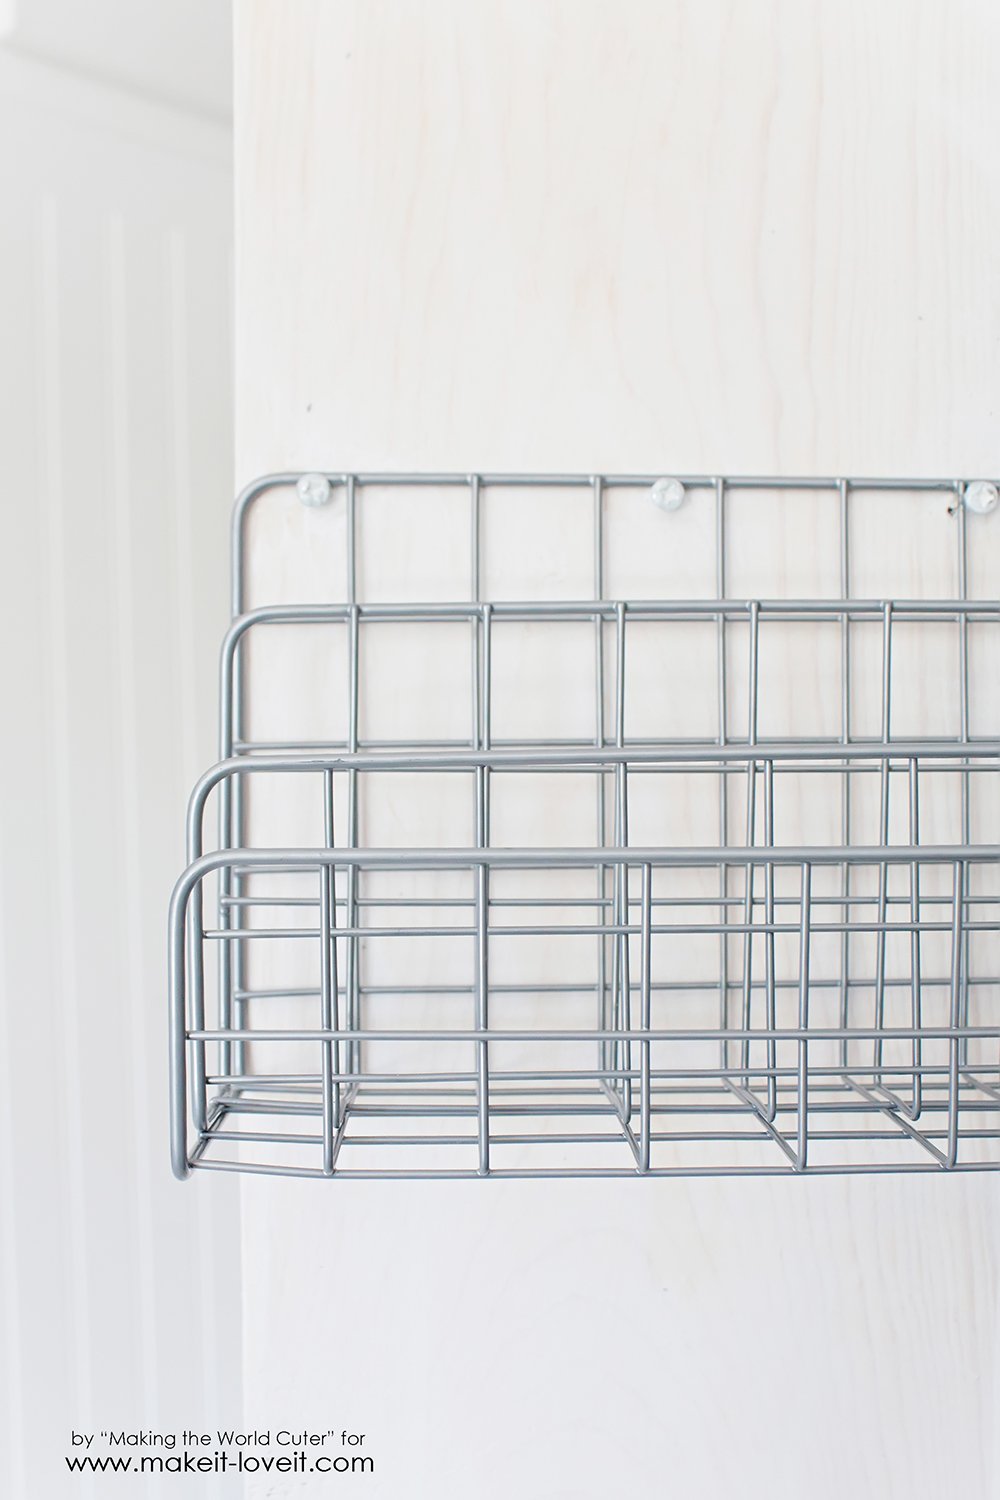
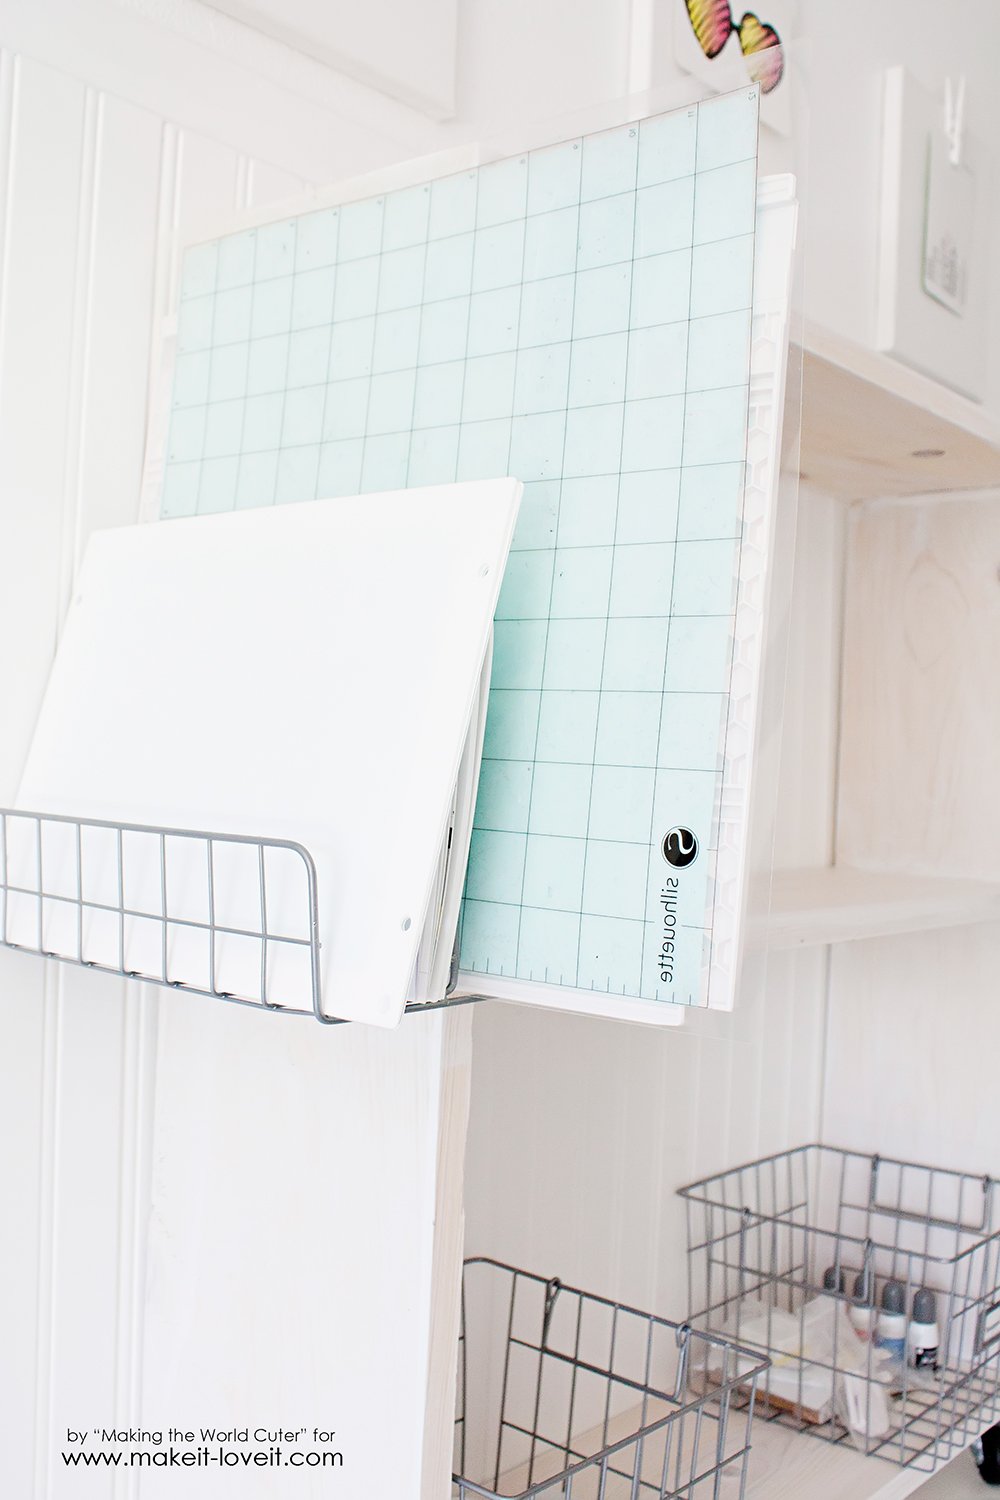
I wanted a place to put all my cutting mats, so I purchased an inexpensive letter organizer to attach to the side. I got it at the Target One Spot for $3. I just screwed in 3 screws and hung it on it, then tightened the screws against it so it’s nice and snug.
Then I can just put all my mats and platforms…and even in progress projects in here.
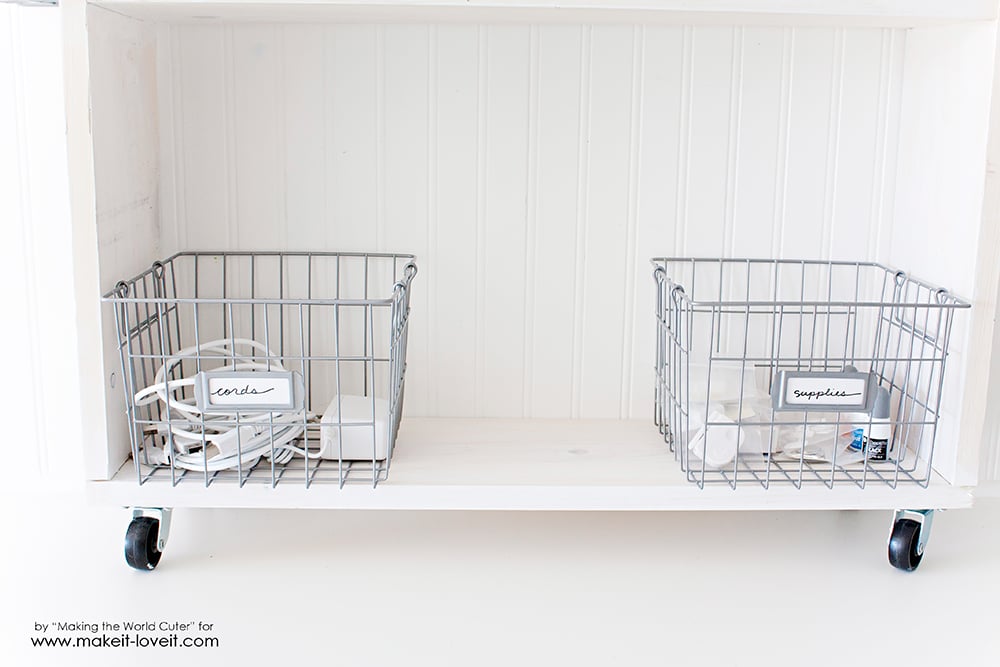
I also got these baskets from Target in the same spot. I love having a place to put all my cords and extra supplies. Cords are my nemesis. In my perfect little Tiffany world, EVERYTHING would be cordless. In the meantime, putting them in a cute basket makes them seem less hideous.
All done! Super easy and SUPER useful.
It’s funny how the easiest and most simple projects sometimes end up being my absolute favorite.
Now I just need to figure out some fun things with that Curio! I’ve used it once, and am in need of some more fun things to do with it. Does anyone else have one? What have you done with it?
–Tiffany
. . . . .
Having an organized craft space makes diving right in to the fun part – creating – SUPER easy! Here are a few more organizational projects that will keep things tidy in your craft space (or ANY room) and let you get right to the joy of being creative:
Hanging Homework Station (…or craft station!)
Covered Cardboard Storage Boxes
Make a counter height Craft Table (from 2 shelves, a table top, and 8 legs)






No comments:
Post a Comment